Add Course
Overview
To create a new course, click the New Course button. Then, choose one of the following options: Add Course to build it manually or Generate Course with AI for an automated creation process.
Add Course
When you select the Add Course button, you will be prompted to enter a name for your course. This is a required field with a maximum limit of 100 characters.
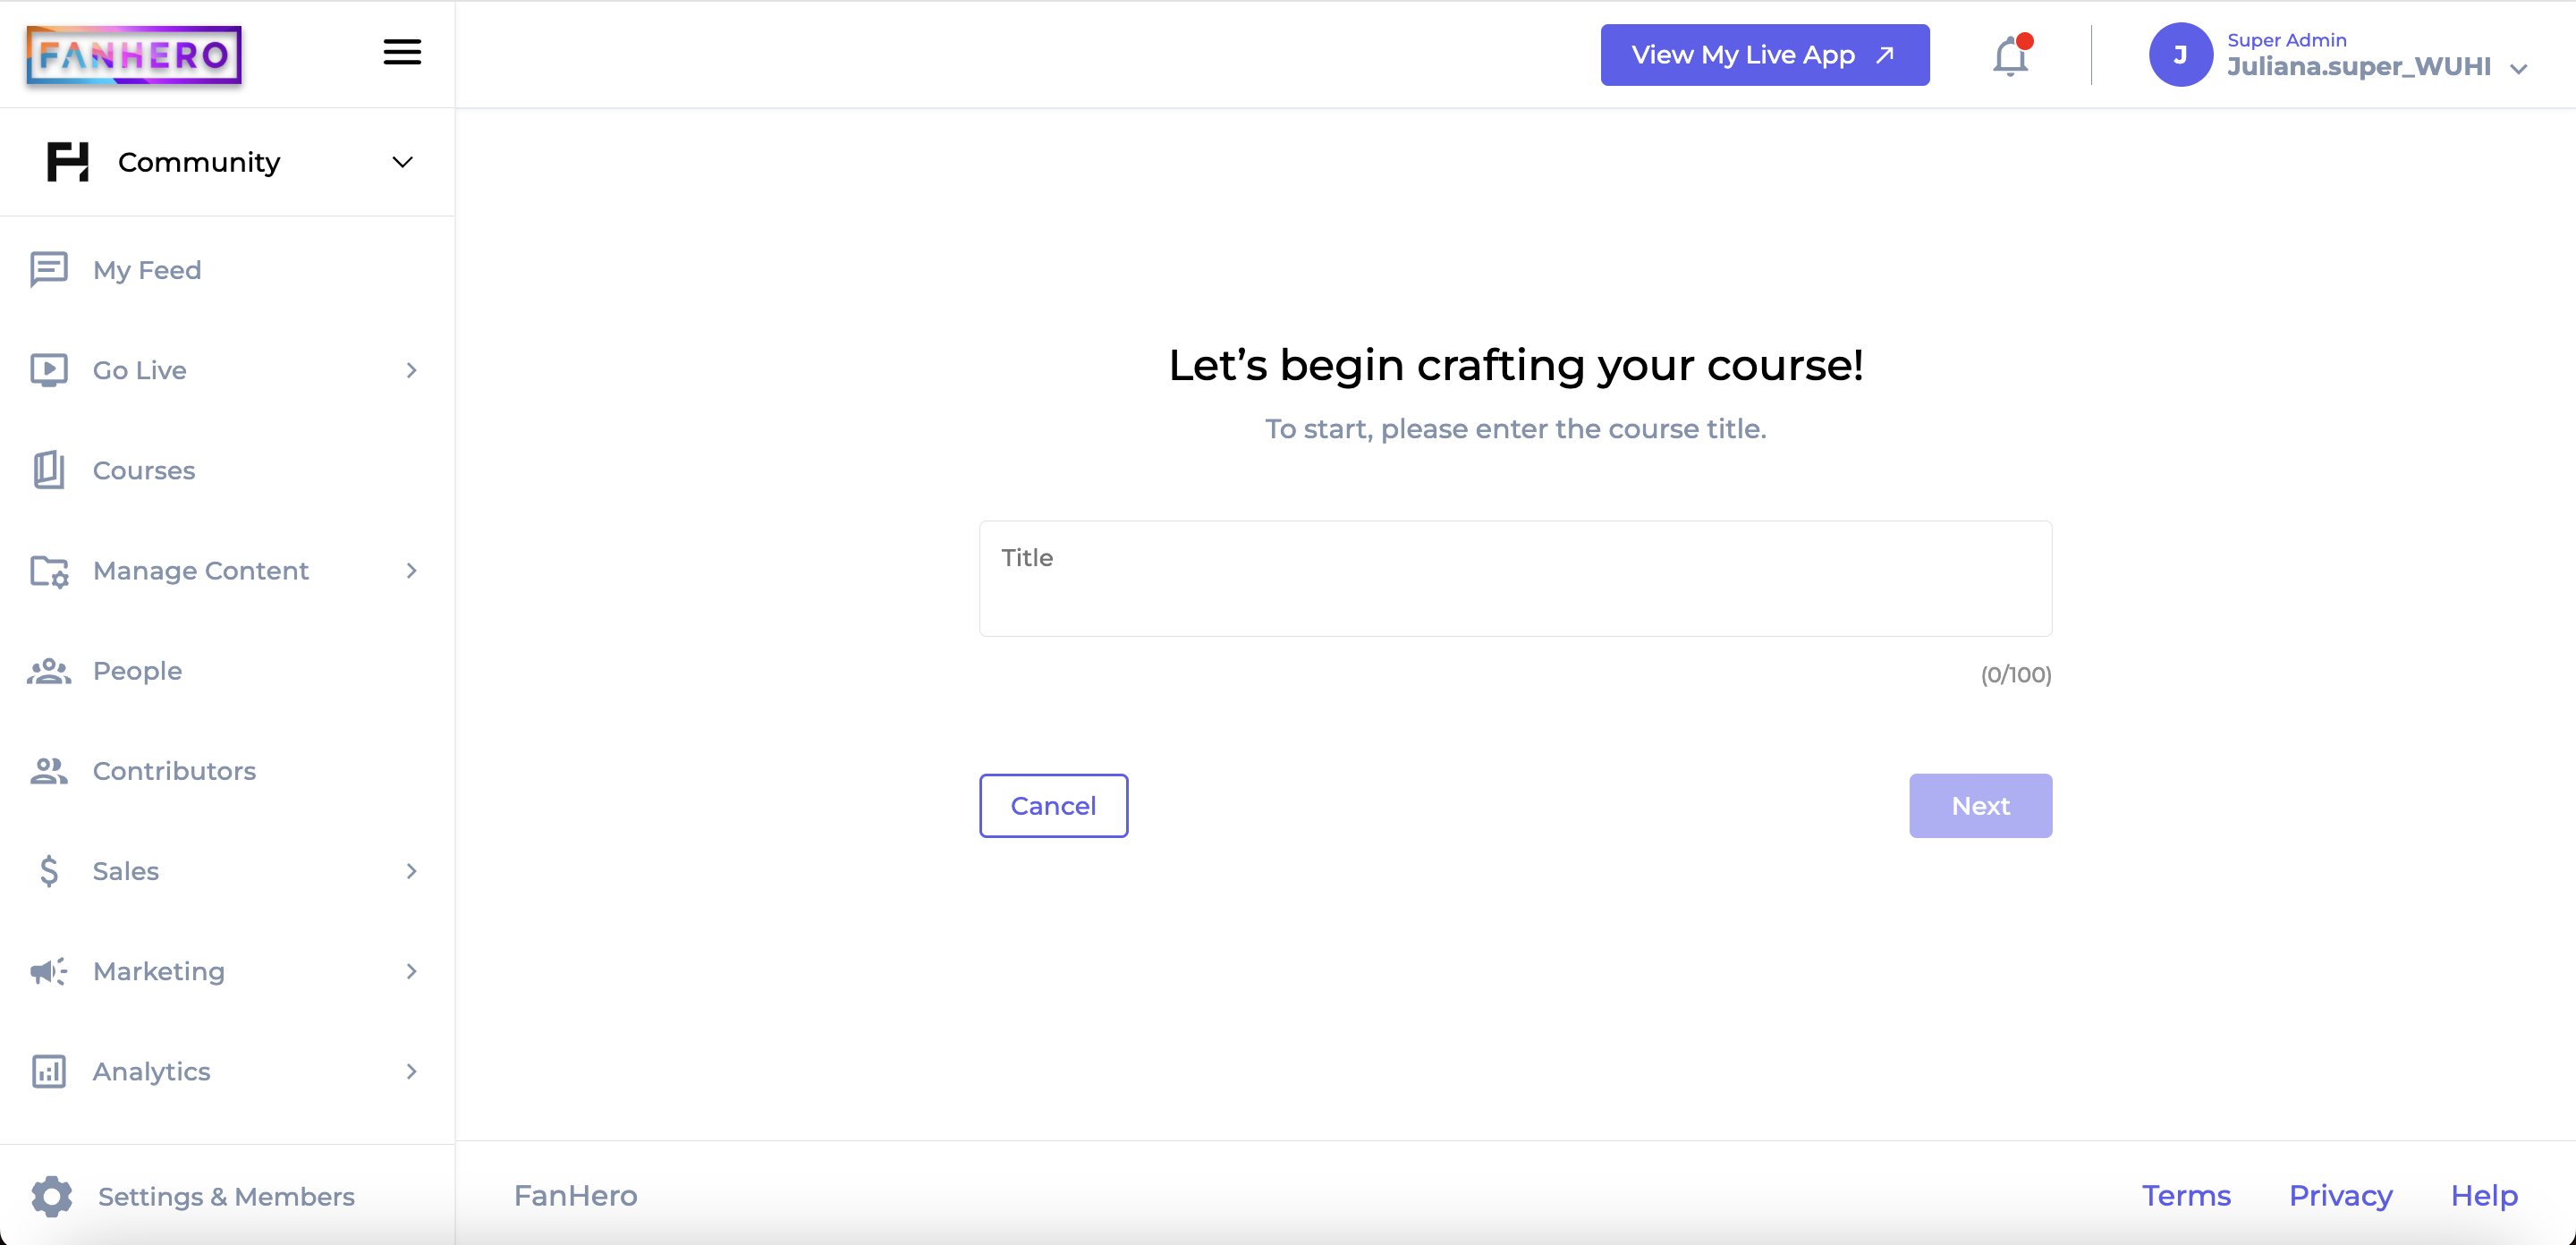
Course Name
Clicking on Next will take you to the Edit Course screen, where the course name you entered will already be filled in.
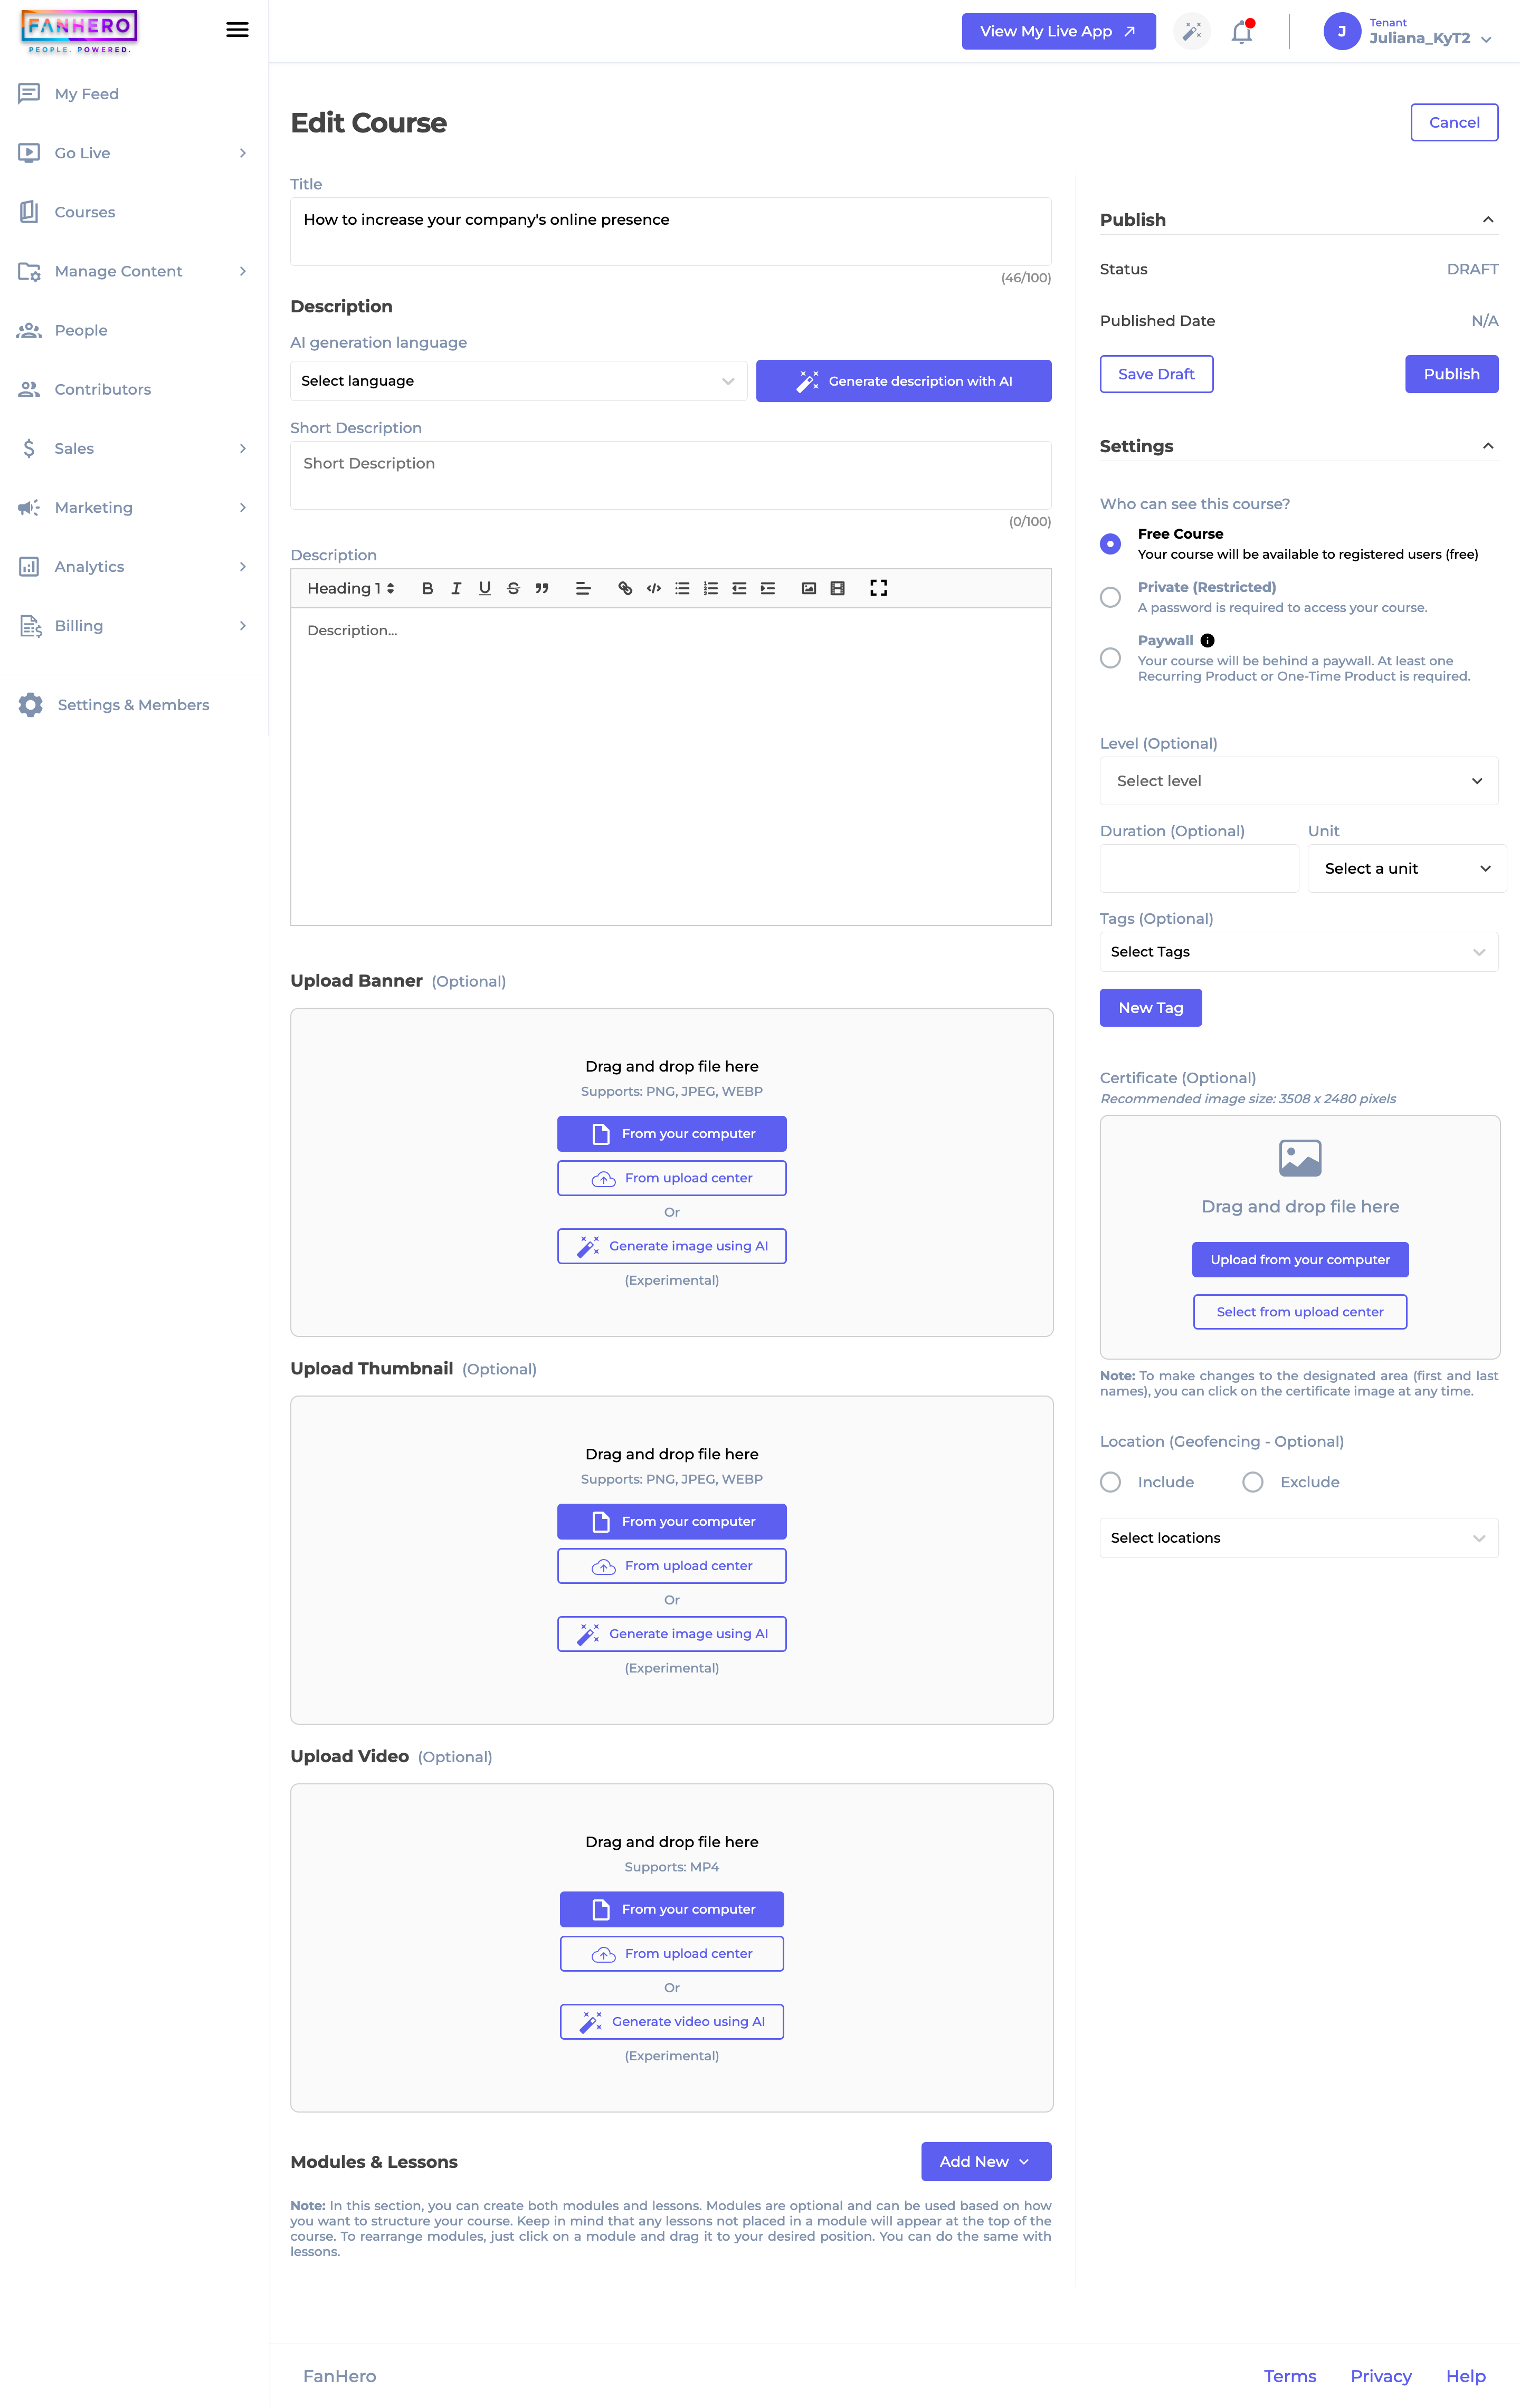
Edit Course
Course Title
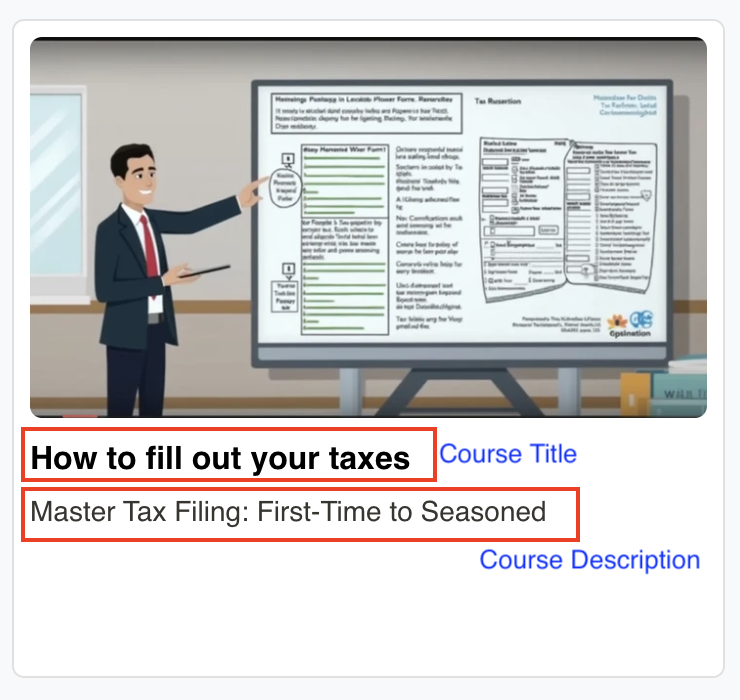
The title of your course is the name that will be displayed to users. Make sure to choose a clear, engaging, and impactful title to capture their attention.

Course Description
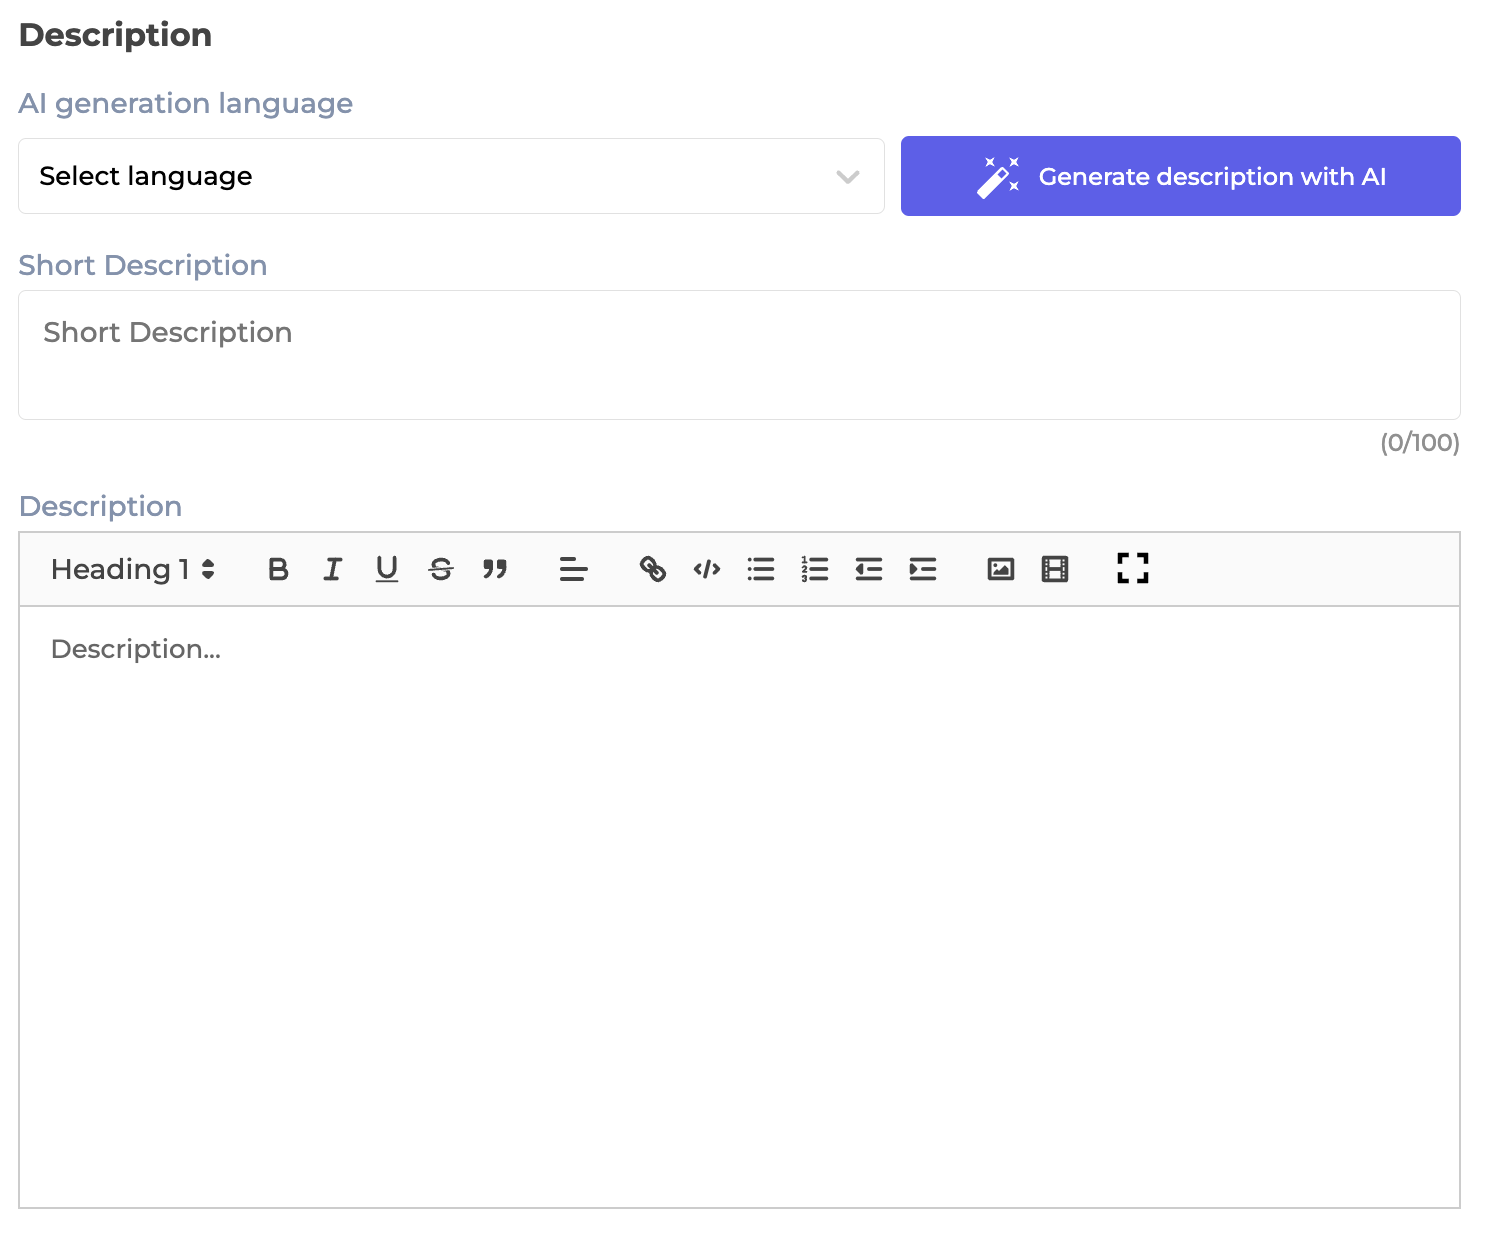
Short Description
Provide a brief summary of up to 100 characters. This will appear below the course thumbnail and should grab the reader's attention, enticing them to explore the course further.
Long Description
This is the course overview and it is crucial for helping students understand the course and establish a connection with the instructor. It also provides essential information to support students in succeeding.
What to Include in a Course Overview:
- Course Purpose: Clearly state the objective and purpose of the course.
- Course Structure: Provide an explanation of the course's layout and how it progresses.
- Course Requirements: Outline any prerequisites, materials, or staff details.
- Course Topics: Describe the key topics or concepts covered in the course.
- Course Skills: Specify the skills and knowledge students need to succeed.
- Course Guidelines: Share tips and strategies for excelling in the course.
Course Outline:
This document maps the curriculum at the course level, detailing learning requirements, evaluation methods, activities, and resources to support the learning process.
Generate Description with AI
You have the option to generate the course description using AI. Simply select the desired language—English, Portuguese, or Spanish—and click the Generate Description with AI button. The AI will create both a short and a long description based on the course title.
Web Application (Users) View
Upload Banner
The banner is an optional field when creating a course, but we highly recommend adding one. Banners are displayed in the web application’s carousel, cycling between course banners every 5 seconds. This feature is an excellent way to draw attention to a specific course and enhance its visibility.
An image can be uploaded from your computer or from the Upload Center, and must have a supported format: png, jpg, jpeg, webp.
Depending on your platform's plan, you may have the option to generate image using AI.
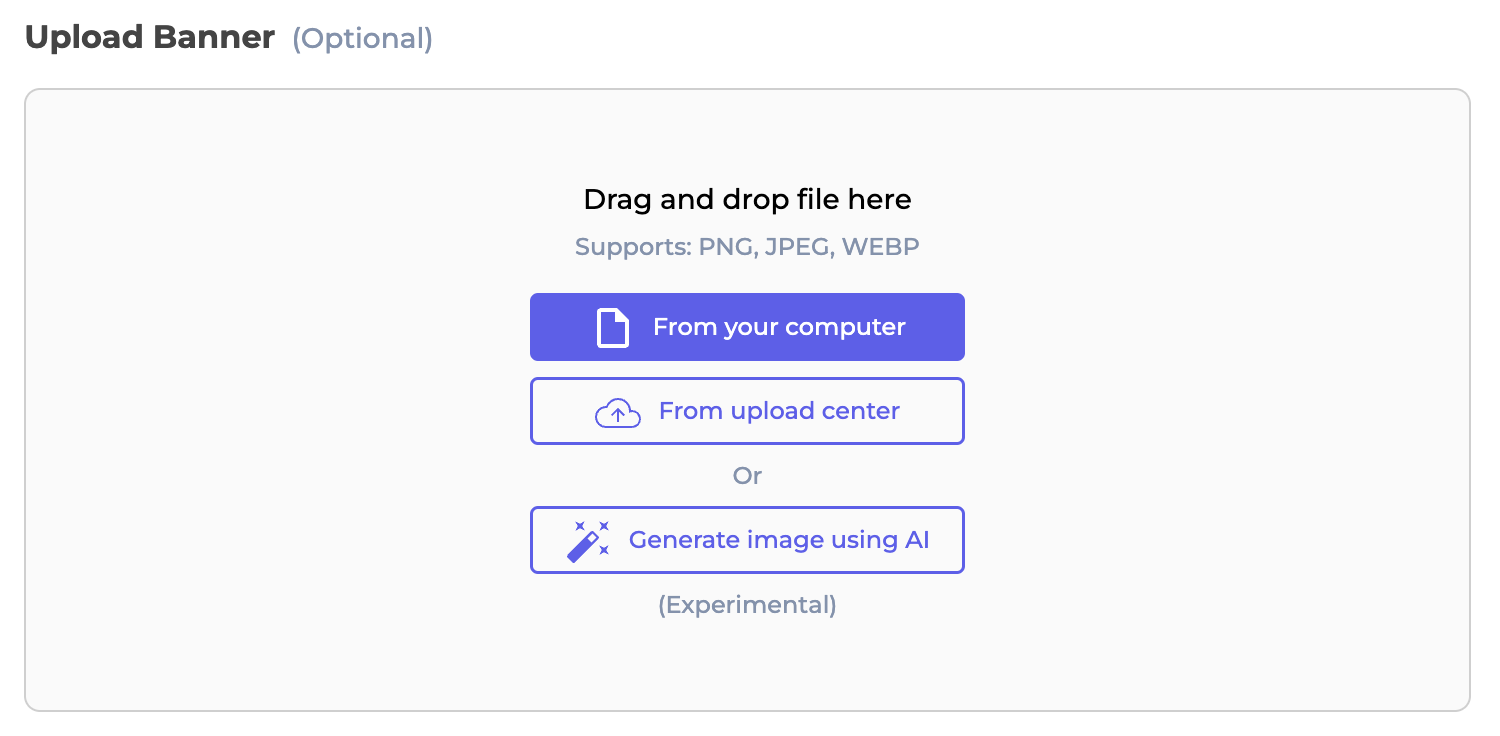
Selecting the Upload Center option will list all the media available where the type is "image" and the status is ready. Administrators have the ability to search by file name.
The option to upload an image from your computer is also available, even if you selected the Upload Center option.
Web Application (Users) View

Upload Thumbnail
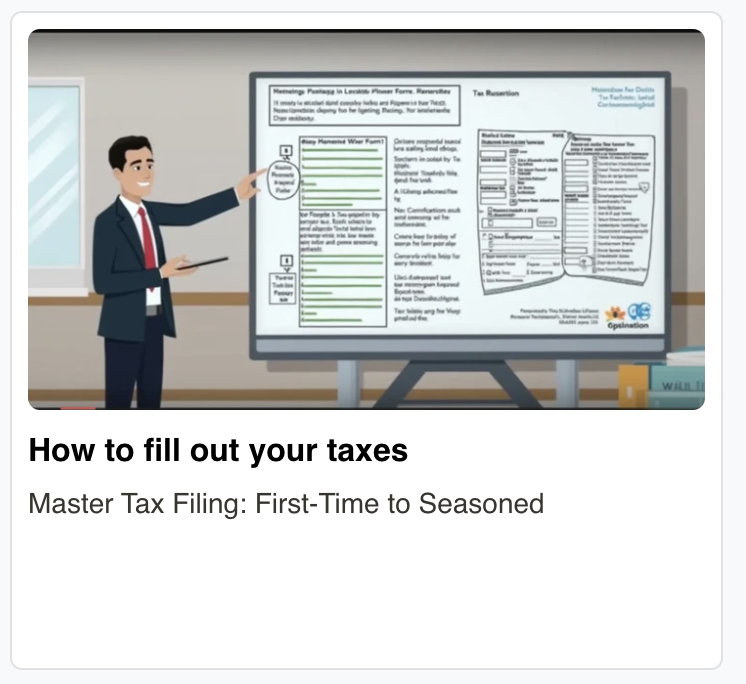
Similar to the banner, the thumbnail is an optional field when creating a course. Thumbnails are displayed on the course card in the web application, positioned above the course name. Adding a thumbnail is an excellent way to make your course more visually appealing and enhance its visibility.
An image can be uploaded from your computer or from the Upload Center, and must have a supported format: png, jpg, jpeg, webp.
Depending on your platform's plan, you may have the option to generate image using AI.
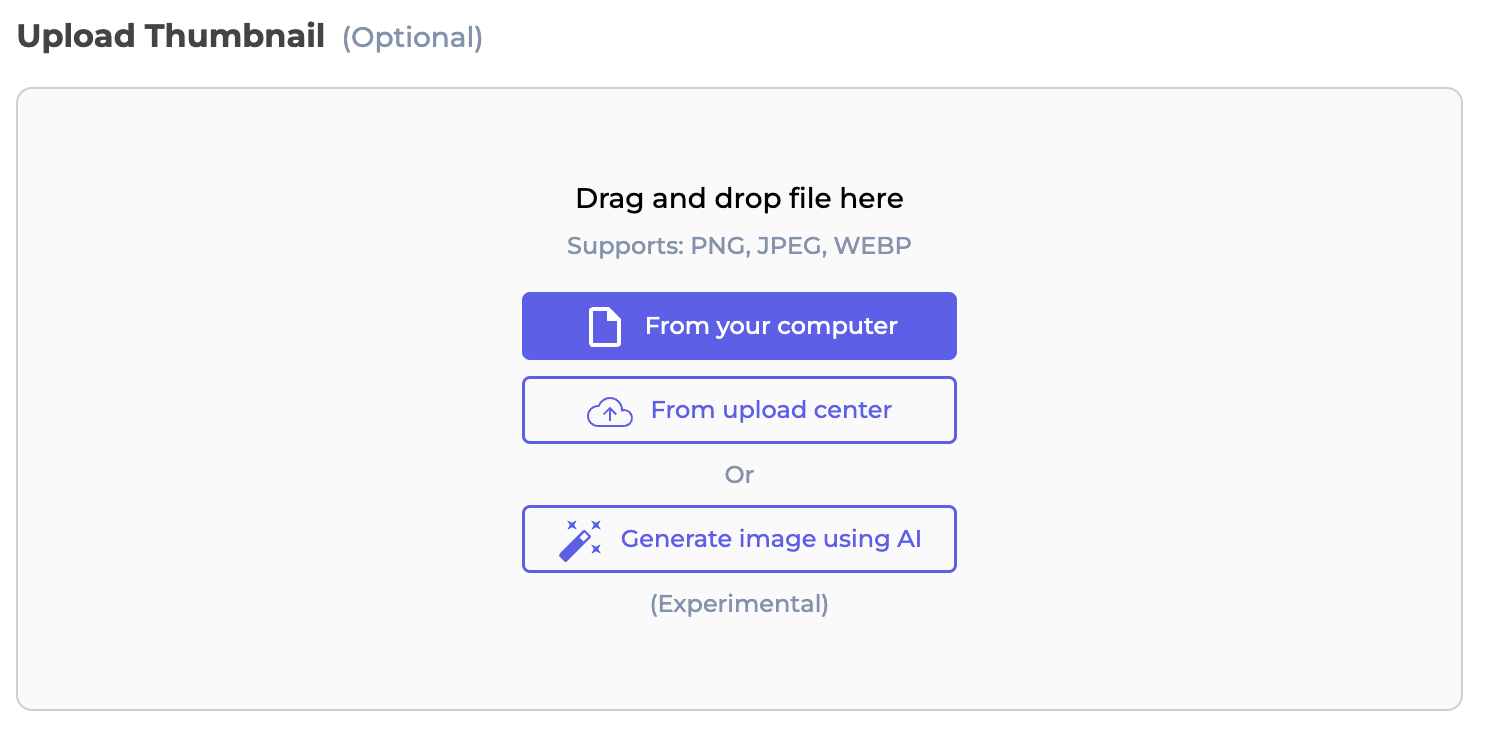
Selecting the Upload Center option will list all the media available where the type is "image" and the status is ready. Administrators have the ability to search by file name.
The option to upload an image from your computer is also available, even if you selected the Upload Center option.
Web Application (Users) View
Upload Video
You can add a video to the course overview. Videos are a powerful tool to effectively communicate to users what the course is about and what they can expect, offering an engaging way to present key information.
A video can be uploaded from your computer or from the Upload Center, and must have a supported format: mp4.
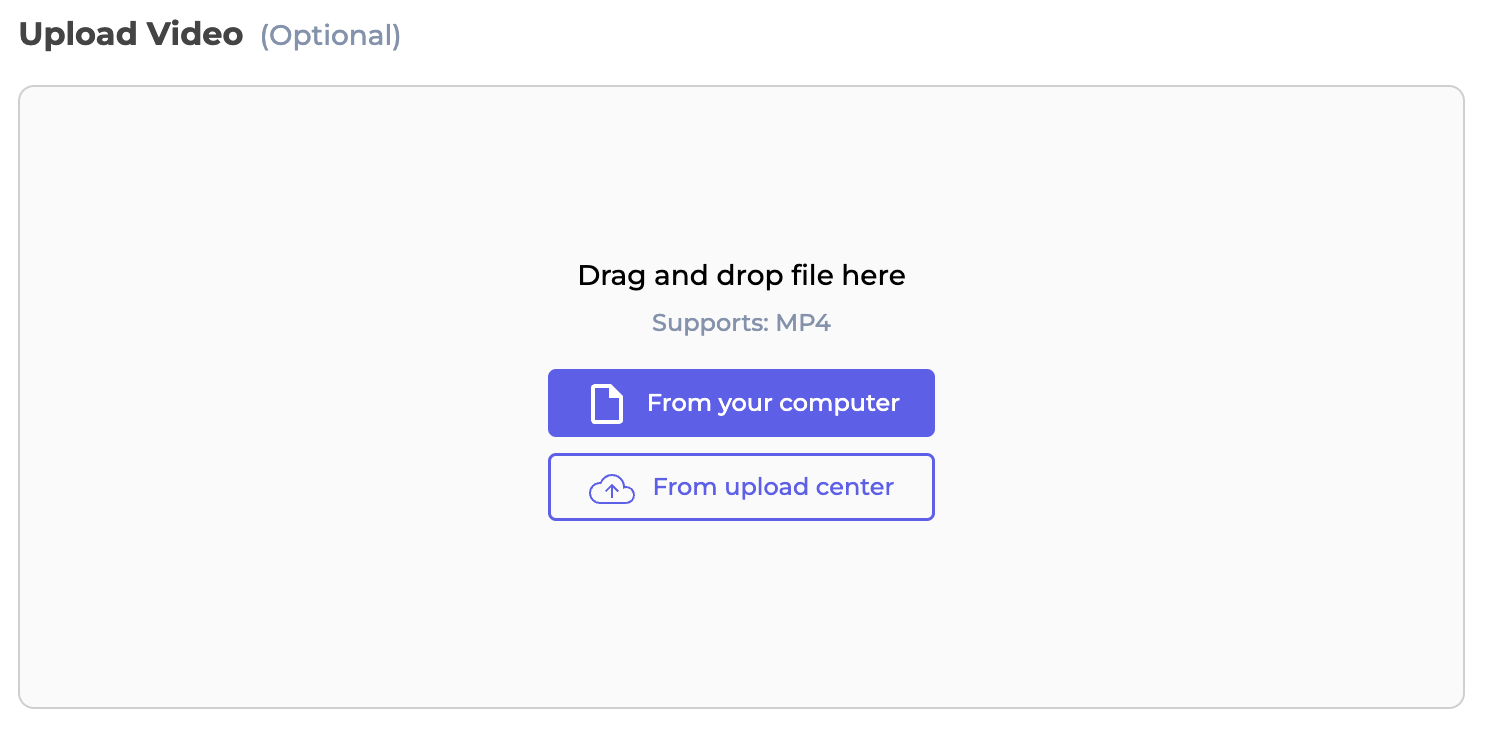
Selecting the Upload Center option will list all the media available where the type is "video" and the status is ready. Administrators have the ability to search by file name.
The option to upload a video from your computer is also available, even if you selected the Upload Center option.
Web Application (Users) View
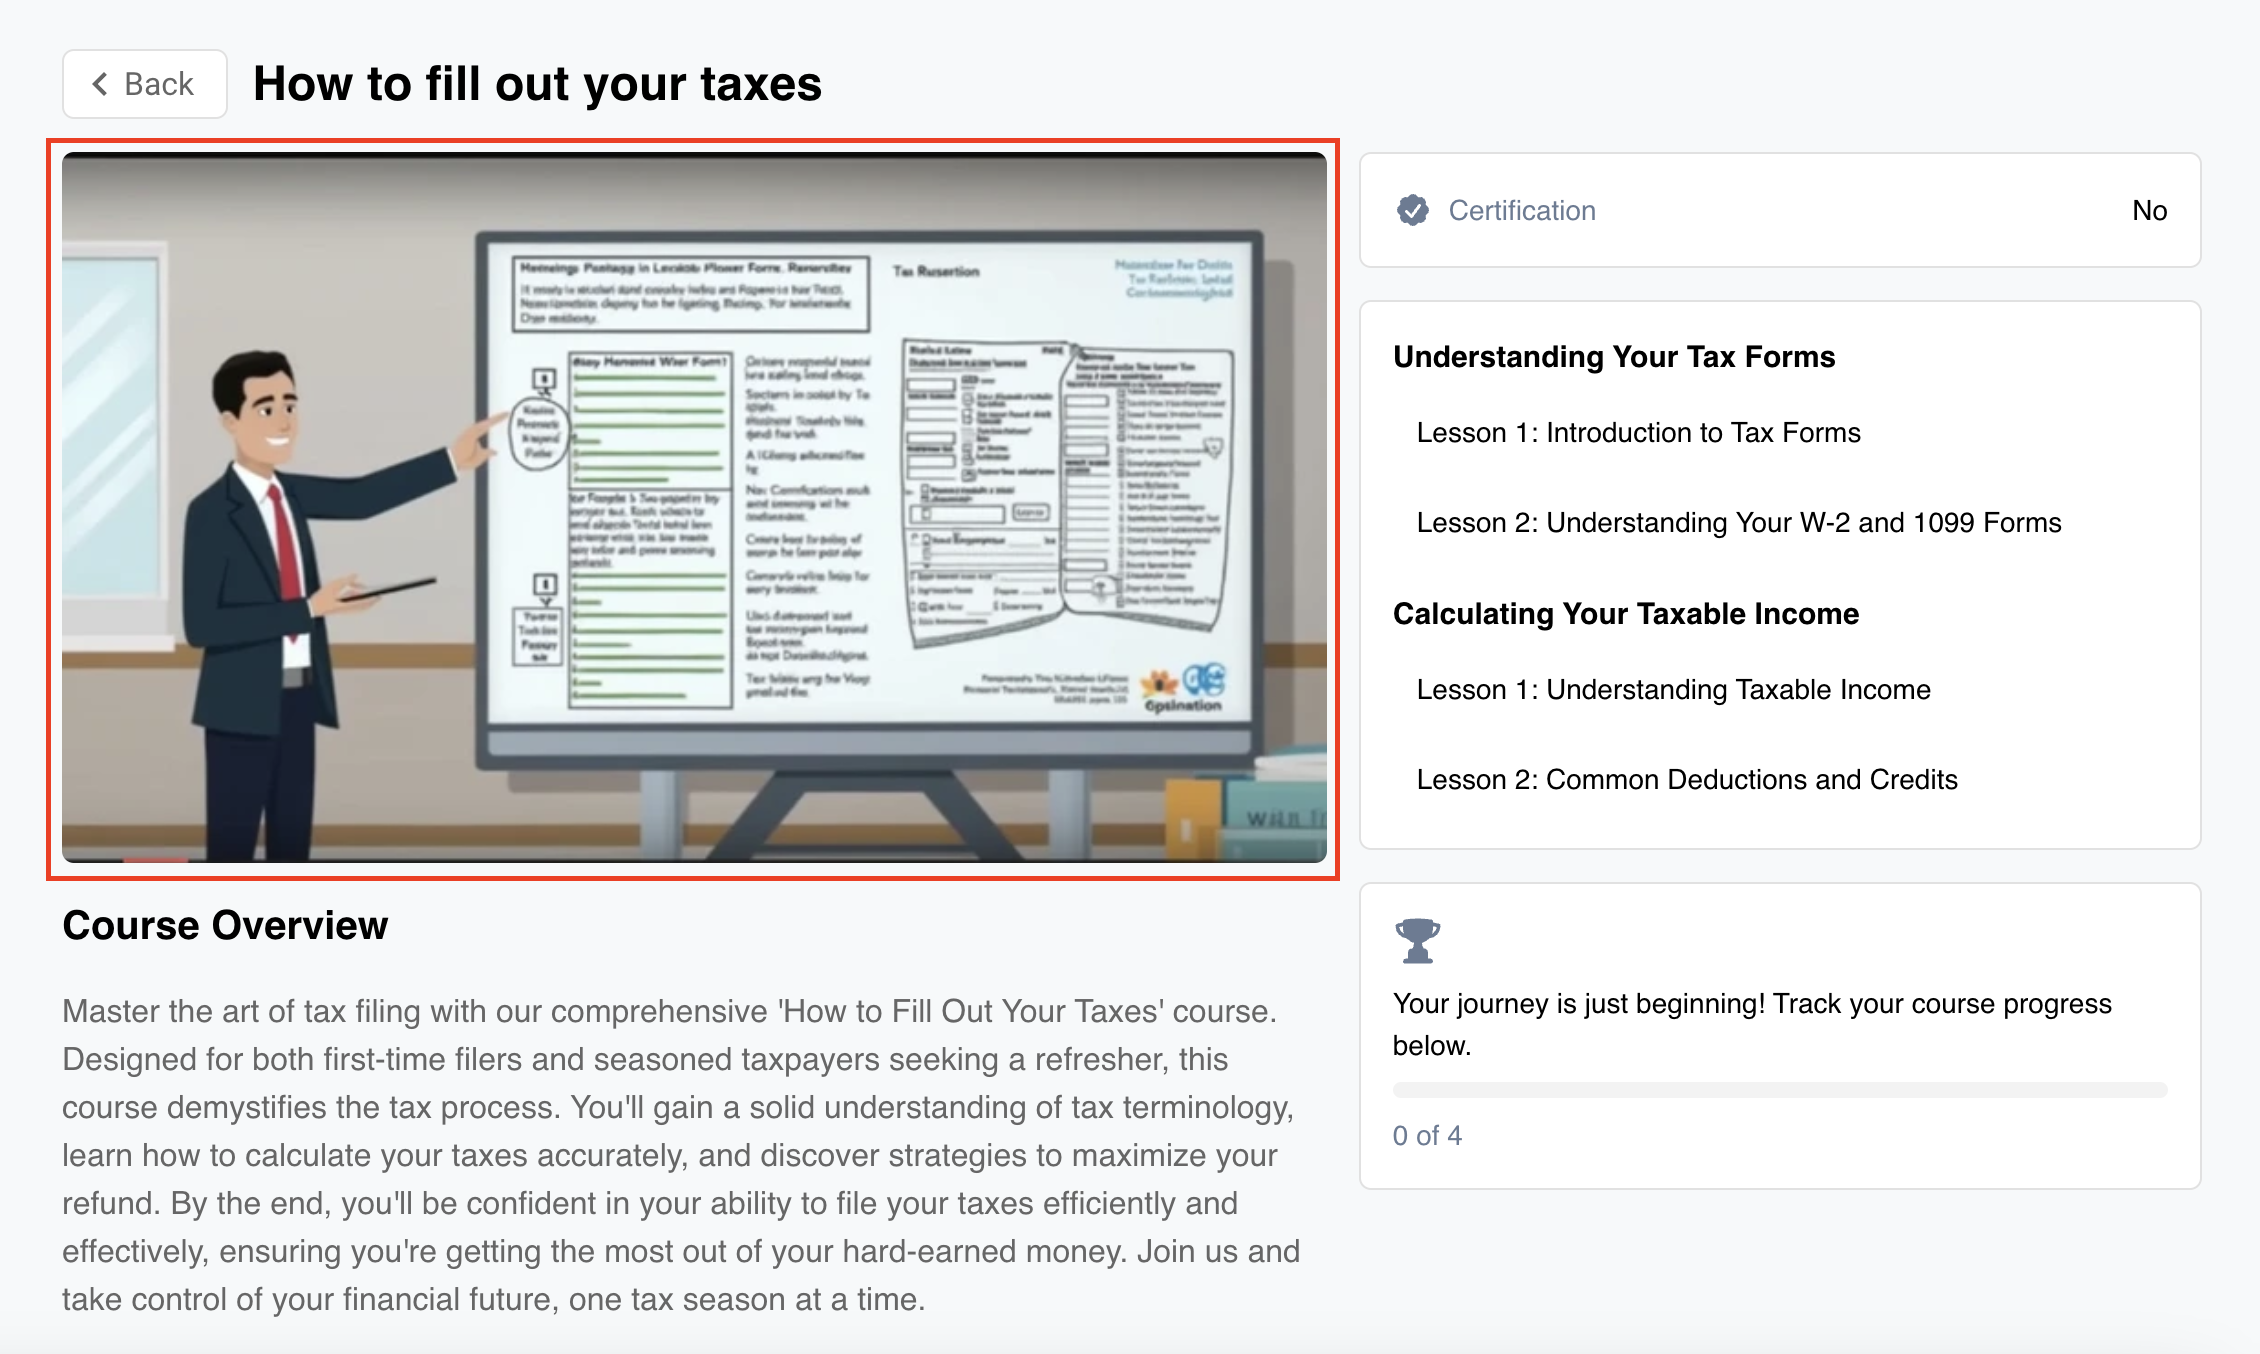
Modules and Lessons
In this section, you can create both modules and lessons. Modules are optional and can be used based on how you want to structure your course. Keep in mind that any lessons not placed in a module will appear at the top of the course.

To learn more about modules and lessons, please visit their respective pages for detailed information and instructions.
Publish
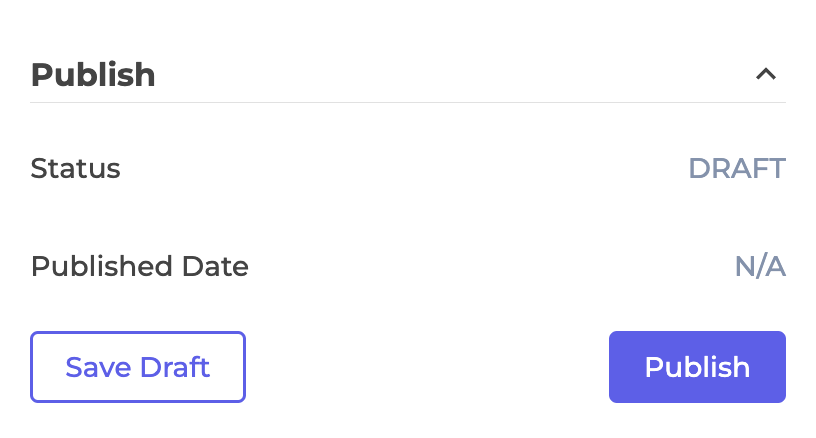
This section displays the published state of your course, as well as the published date.
- Status:
- Draft: The course is in draft mode and not available to users.
- Published: The course has been published and is available to users.
- Published Date: If the course is published, it will show the date when it was published. If the course is a draft, N/A will be displayed.
- Save Draft button: Saves the course as a draft without publishing it.
- Publish button: Publishes the course, making it available to users.
Settings
Level of Access
The level of access of the course.
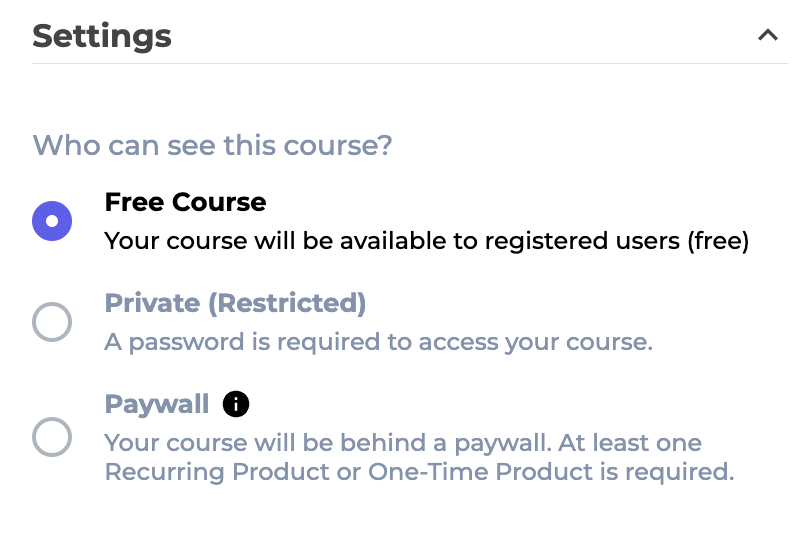
- Free: The course will be publicly available to anyone at no cost, but users will still need to enroll in the course to gain access.
- Private (Restricted): The course will be protected by a password. Only logged-in users who have the password will be able to access it. If this option is selected, a password is required, with a minimum length of 4 characters.
- Paywall: the course is behind a paywall and associated to one or more products. Only users who have purchased the product can enroll. To select one or more products, click on the Select products dropdown. To create a new product, click on the Create a Product button.
Level
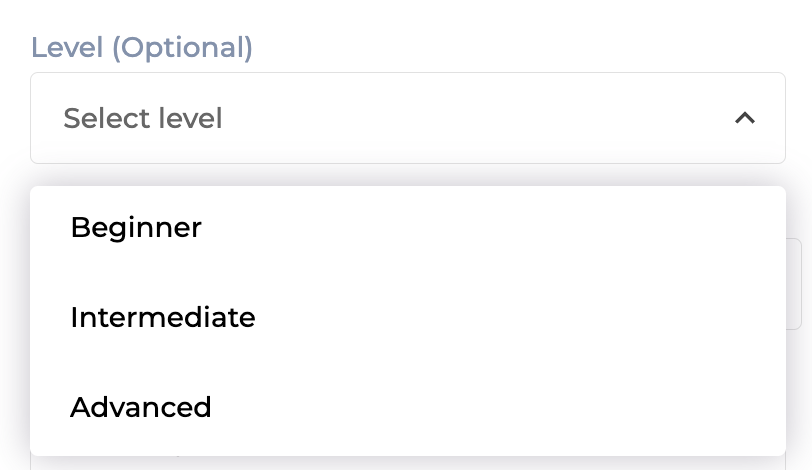
You can select the level of the course from the following options: Beginner, Intermediate, and Advanced. While this is not a required field, selecting a level will help users better understand the course's difficulty and whether it aligns with their knowledge and experience.
Duration
This field allows you to set user expectations regarding the time it may take to complete the course. Please note that the course will remain available even after the specified duration. The duration is simply an estimate to help learners understand the time commitment. To set the duration, enter a number in the duration field and select a unit of time (minutes, hours, days, weeks, or months).
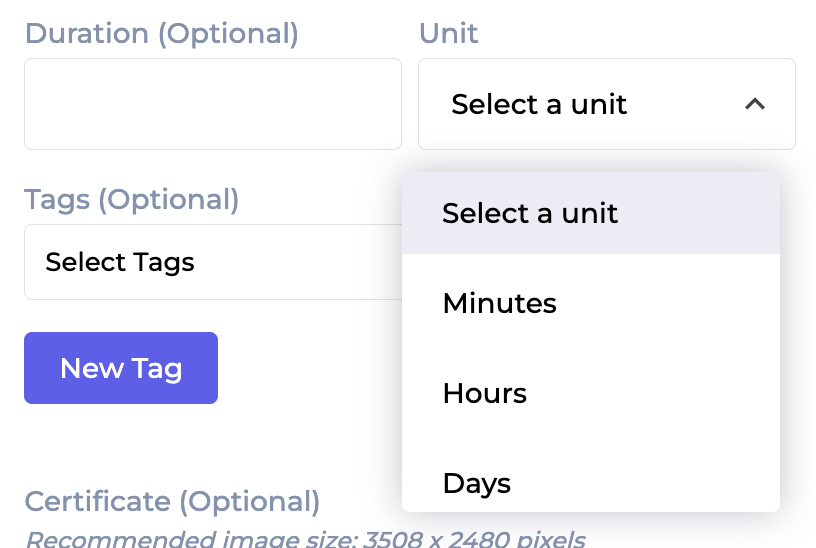
Tags
Tags are powerful tools for organizing and categorizing your courses. By using tags, administrators can offer users a flexible and intuitive way to navigate through and explore various course content, making it easier for them to find relevant courses based on their interests or needs.

Tags
A course can be associated to one or more tags. To create a new tag, click the New Tag button.
Certificate
Your course may generate a certificate to users. To add a certificate, you can upload an image from your computer or from the Upload Center, and must have a supported format: png, jpg, jpeg.
Selecting the Upload Center option will list all the media available where the type is "image" and the status is ready. Administrators have the ability to search by file name.
The option to upload an image from your computer is also available, even if you selected the Upload Center option.
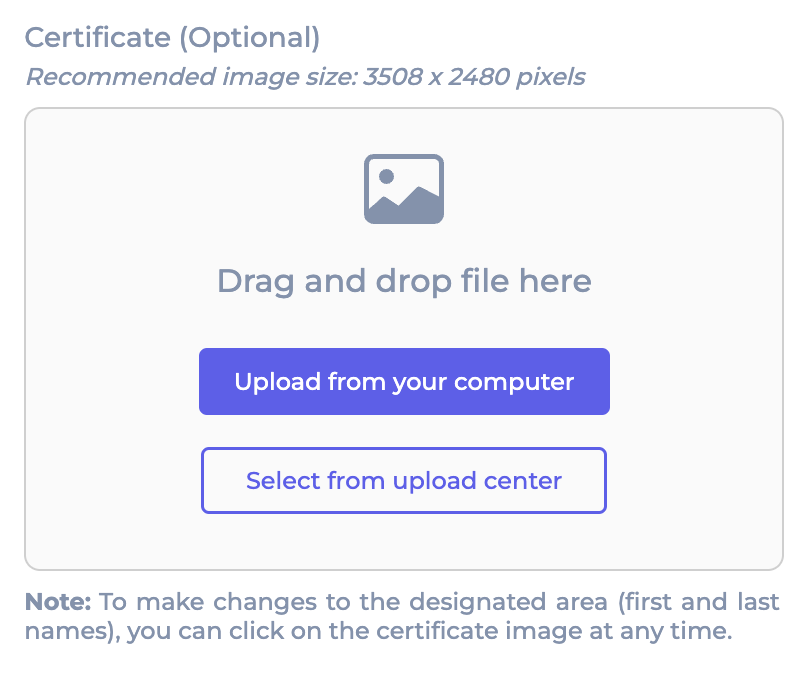
After selecting an image, a pop up with instructions will be displayed. You will be redirected to a screen where you can easily mark the designated areas for the names (user’s first and last names).
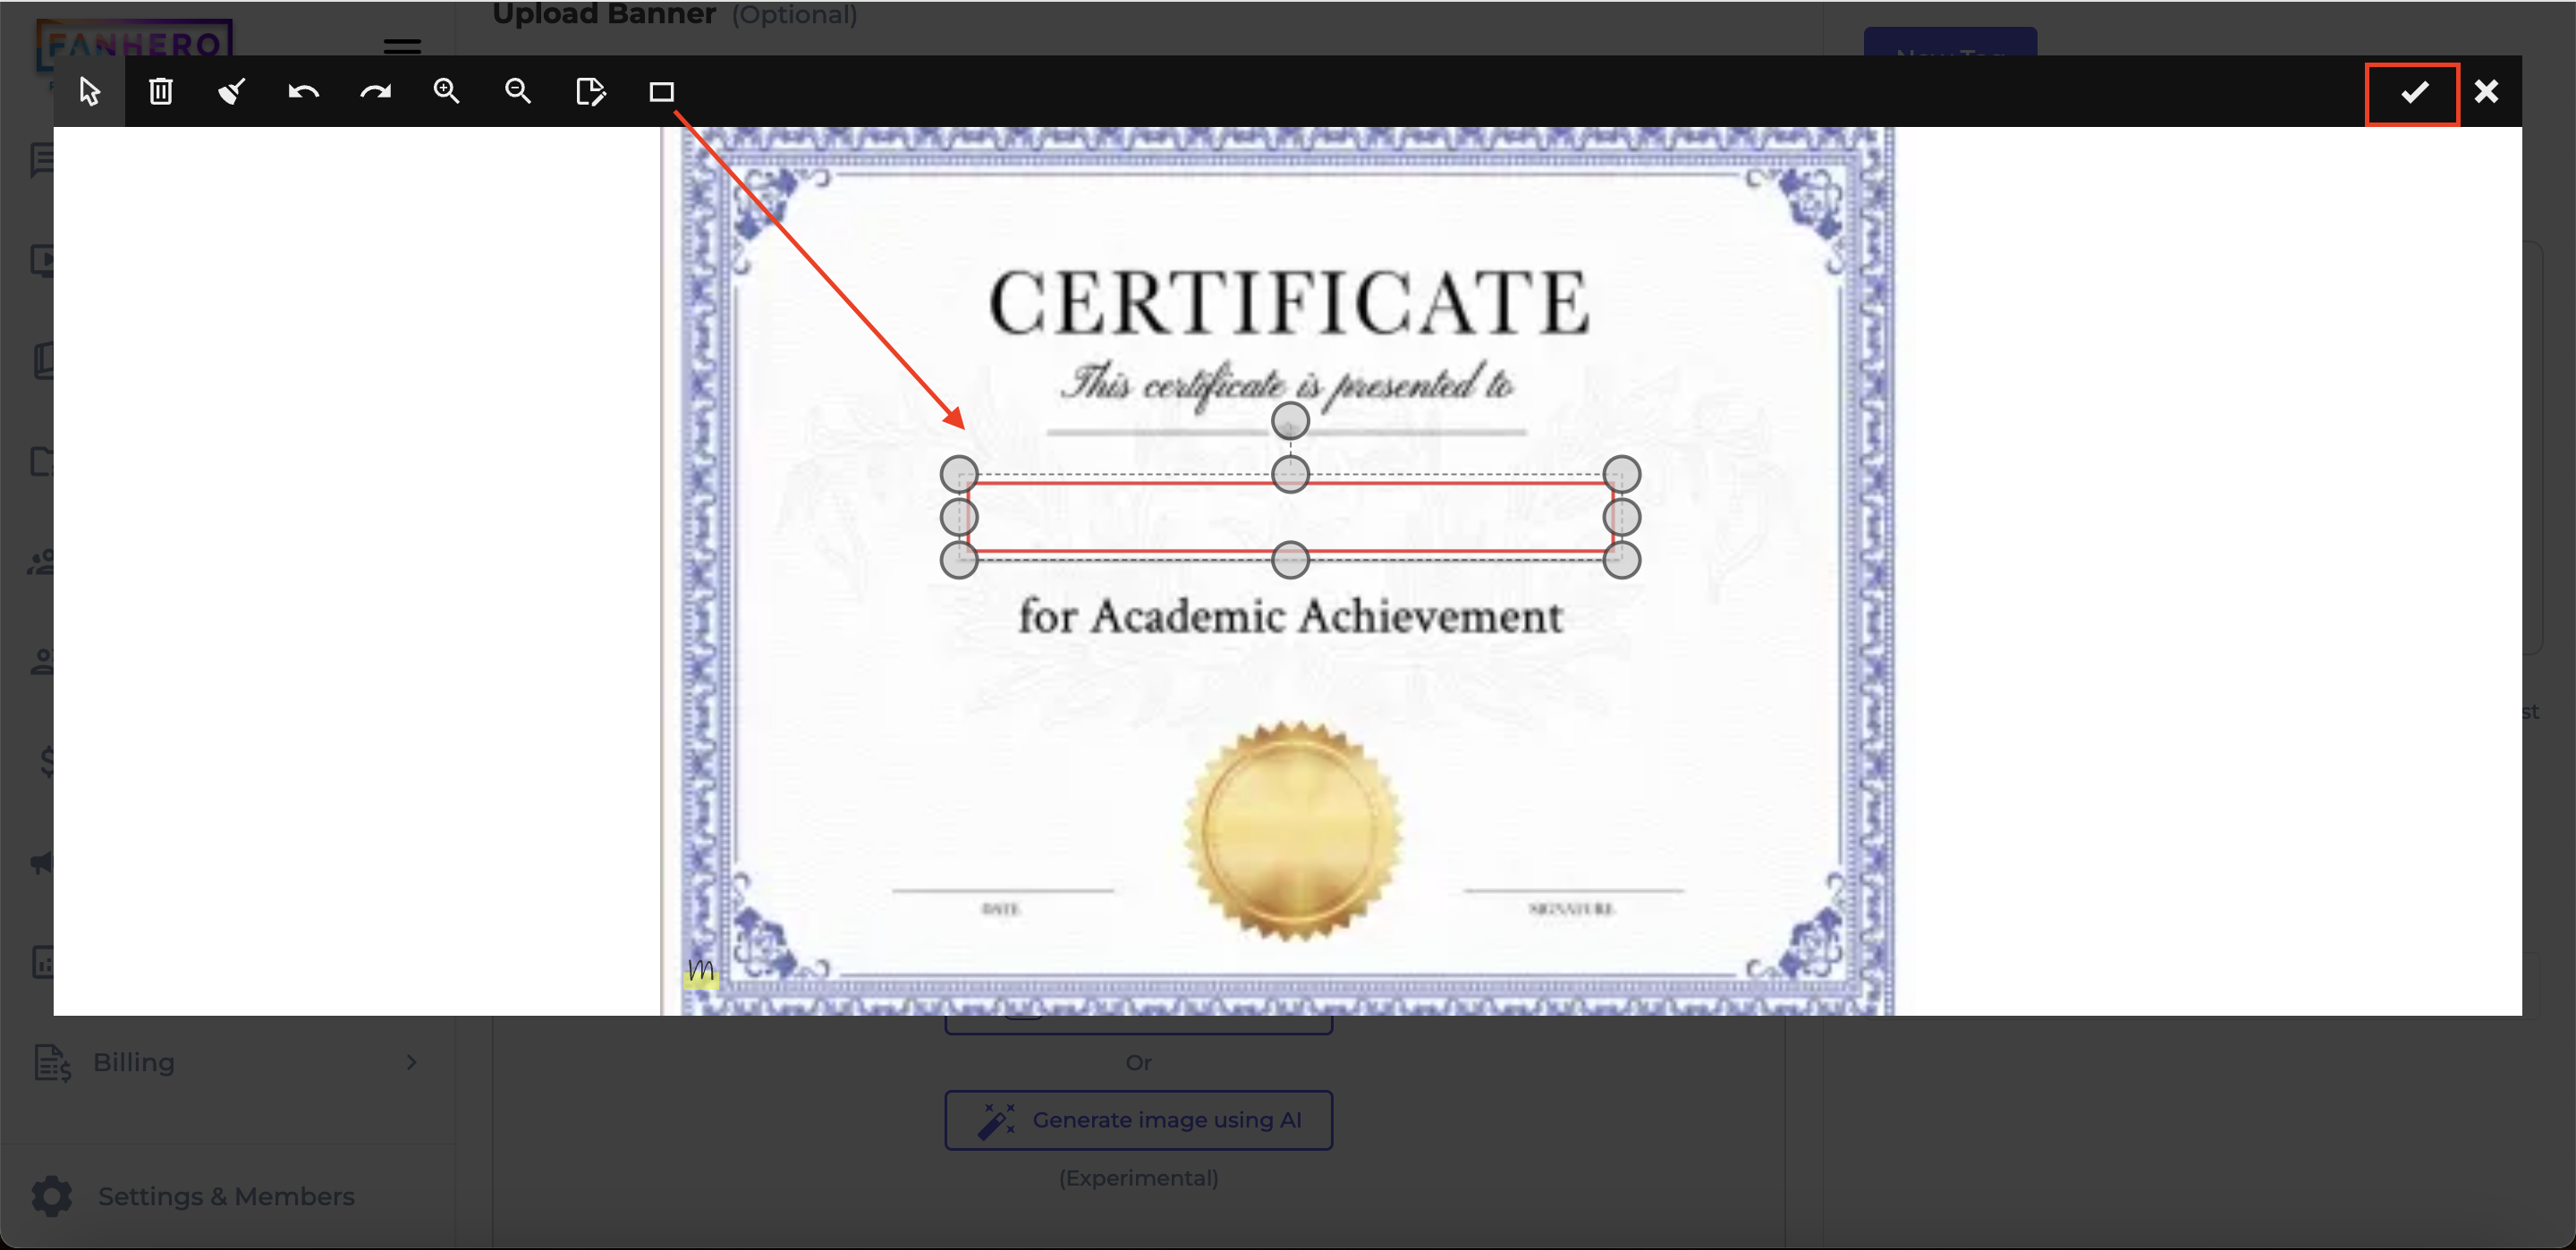
Use the rectangle tool to mark the area where the user’s first and last names will appear. Once you’ve selected the entire area, click the checkmark button to save.
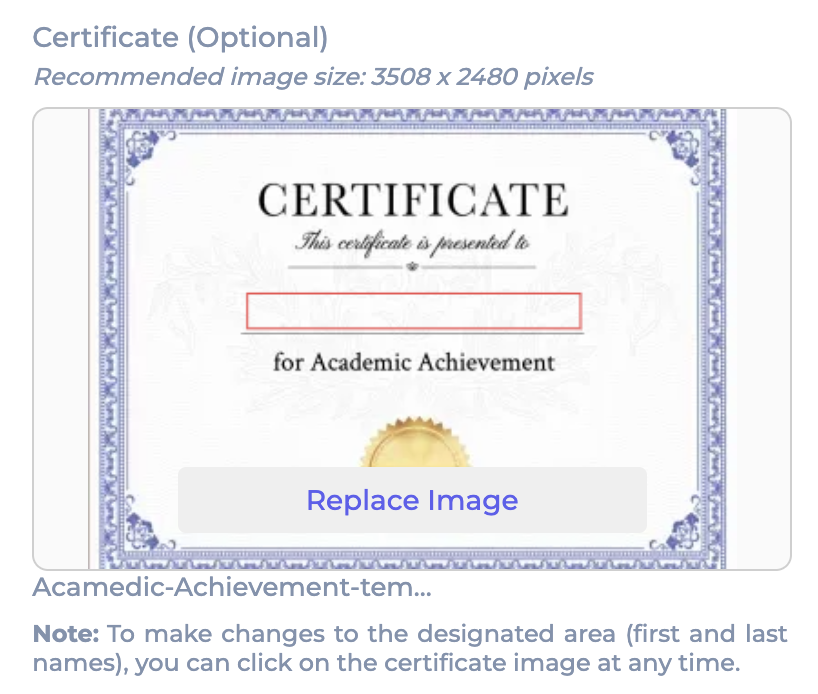
To make changes to the designated area, simply click on the certificate image.
Location (Geofence)
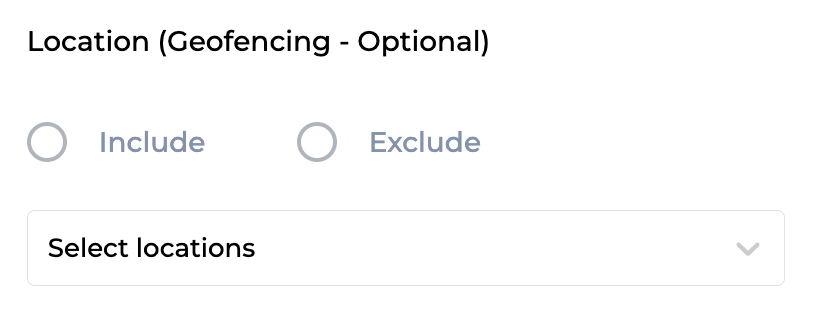
Similar to the Channel location, a course can have specific geographical boundaries or restrictions.
Geofence
- Include - a list of countries that will have access to the course.
- Exclude - a list of countries that will not have access to the course.
Level of Permission (Roles)
Available to Tenant, Super Admin and Admin users.
Updated 8 months ago
