Lessons
Overview
To create or view a lesson, go to the Course page and scroll all the way to the bottom, where you’ll find the Modules & Lessons section.
Add Lesson
To manually add a new lesson to your course, click on Add New, then select Add Lesson. If you wish to add a lesson to an existing module, click on the three-dot icon next to the module and select Add Lesson. You will be redirected to the Add Lesson page, with the module name automatically populated.
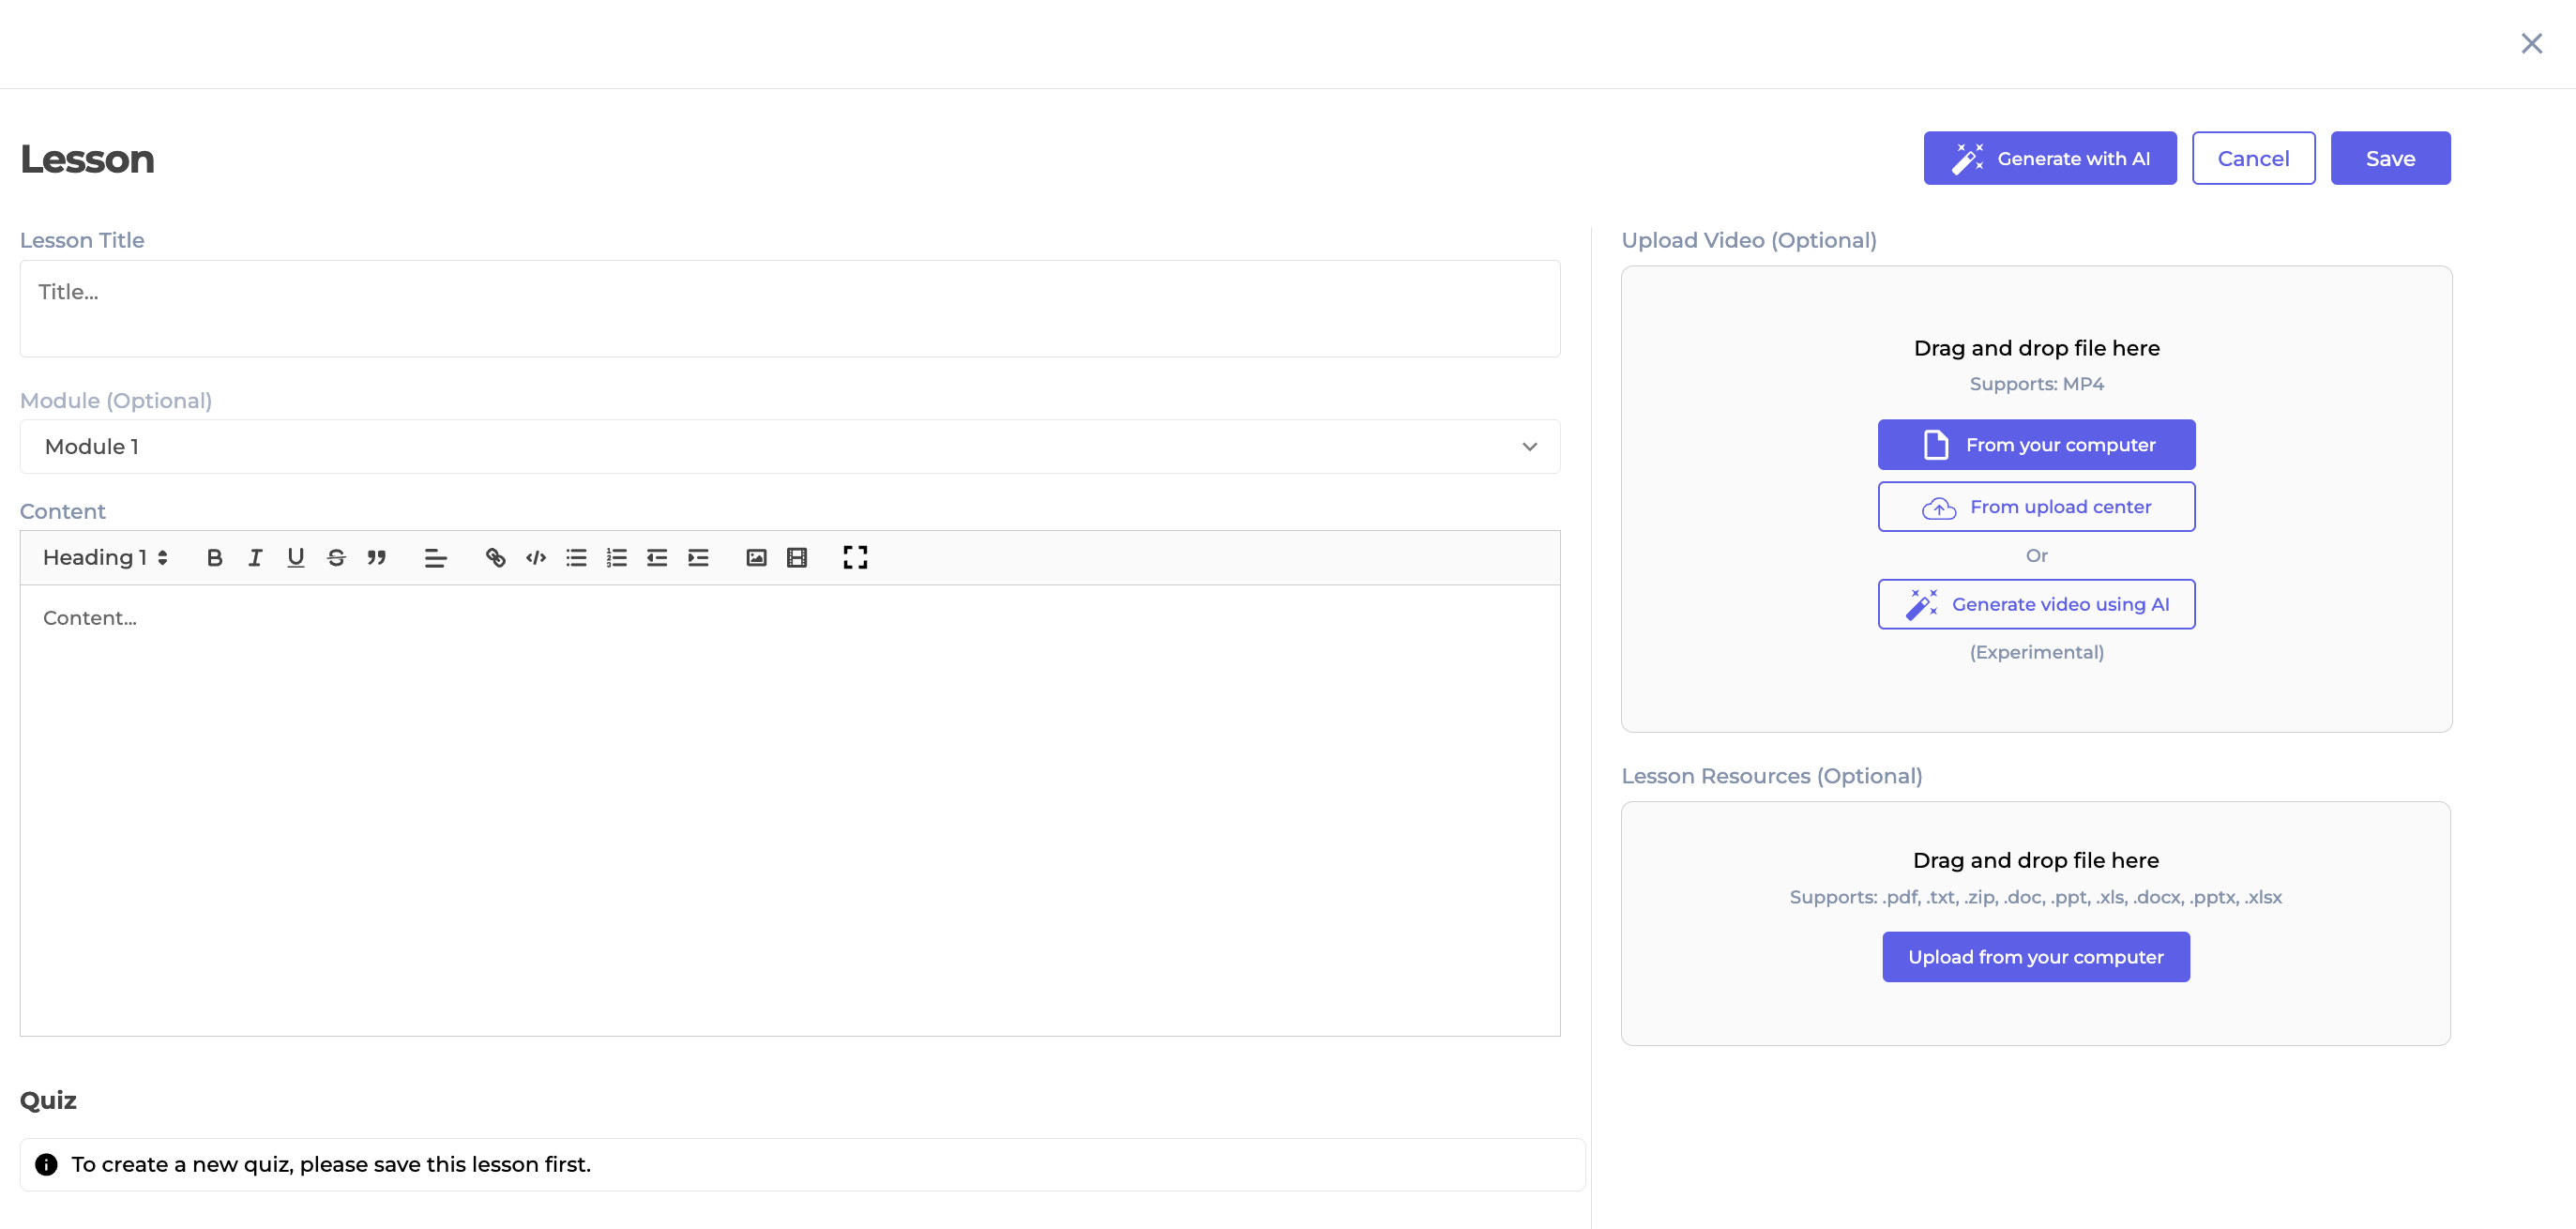
Lesson Title
This is the name of the lesson that will be displayed to users. Make sure to choose a clear and engaging title that accurately reflects the content of the lesson.
Module
Each lesson can be associated with one module. In this field, you will see all available modules from your course, allowing you to select the appropriate module for the lesson.
Content
This is where you can input the lesson content. You can use basic HTML tags to format the content, making it more structured and engaging. Additionally, you can add images or embed videos to enhance the lesson and provide a more interactive learning experience.
Upload Video
You can add a video to the lesson by uploading it from your computer or from the Upload Center. The video must be in a supported format, such as MP4, to ensure compatibility and smooth playback.
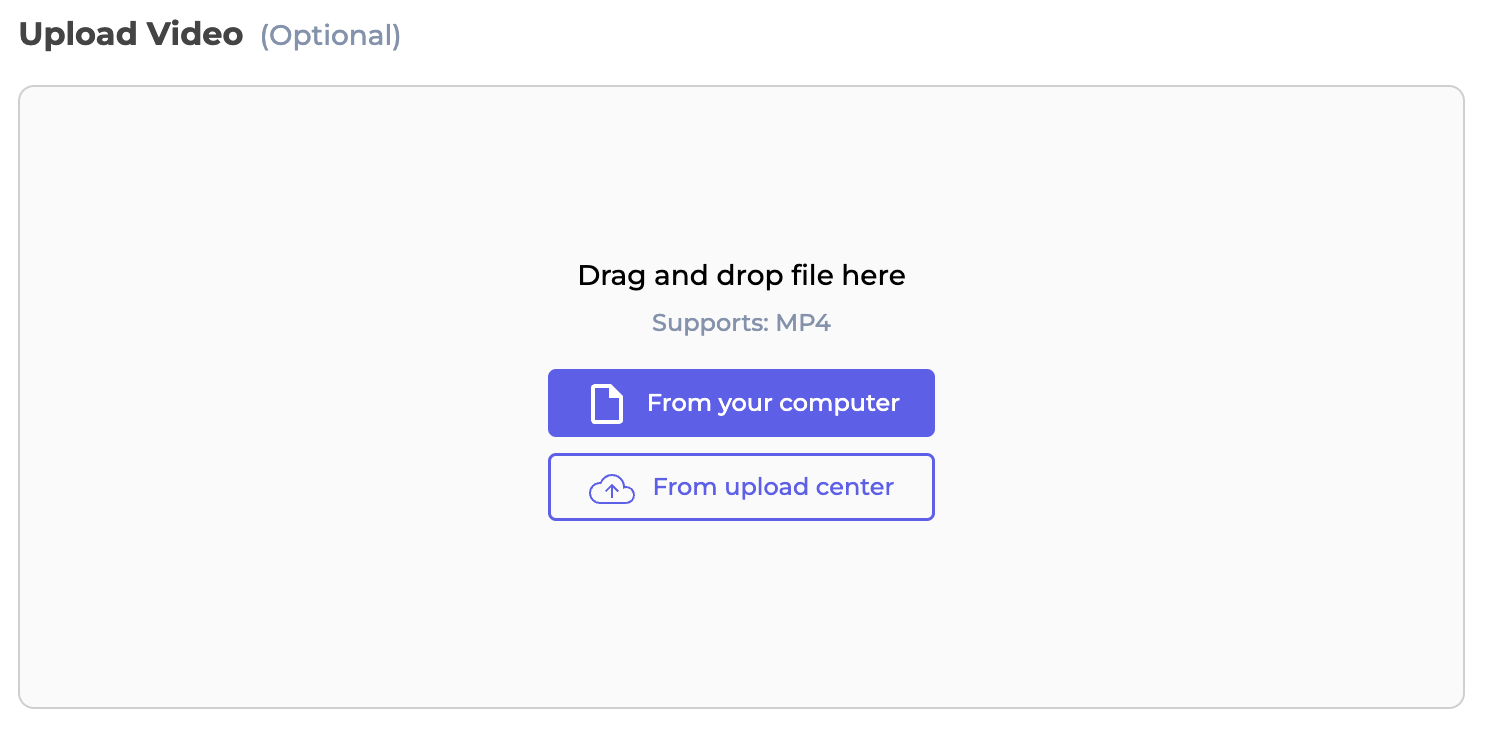
Selecting the Upload Center option will list all the media available where the type is "video" and the status is ready. Administrators have the ability to search by file name.
The option to upload a video from your computer is also available, even if you selected the Upload Center option.
Lesson Resources
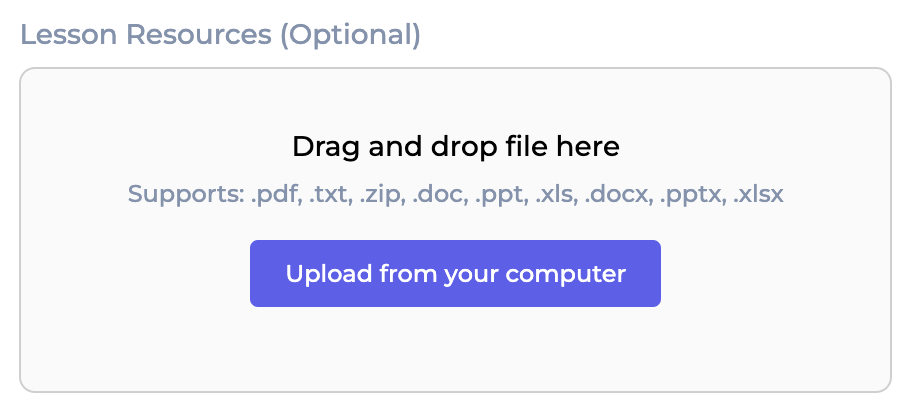
In this section, you can add supporting materials for the lesson. The supported file formats include pdf, txt, zip, doc, ppt, xls, docx, pptx and xlsx. These materials can help reinforce the lesson content and provide additional resources for your students.
Quiz
A quiz can be added to a lesson, serving as a valuable tool to evaluate what users have learned so far. To create a new quiz, click the Add Quiz button. Please note that the lesson must be saved before you can create a quiz.

Quiz Info
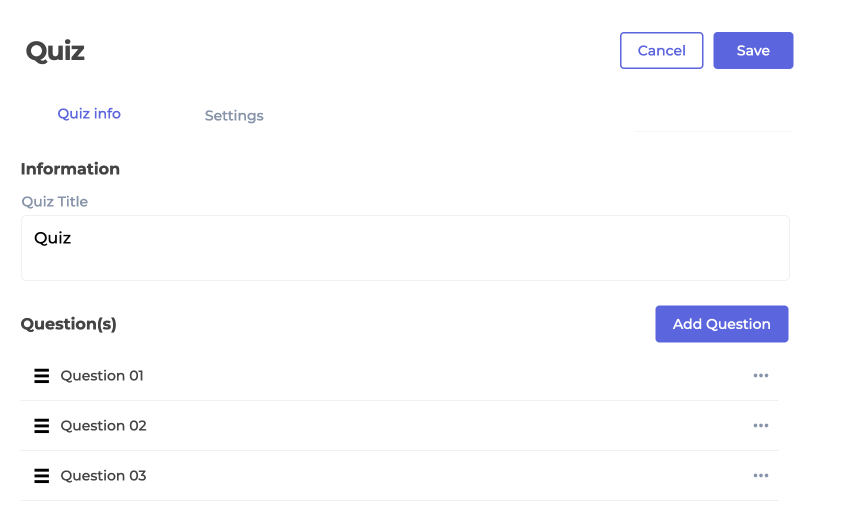
In this section, you can provide the quiz details, including the quiz title and the questions.
Questions
To add a question, click the Add Question button. A modal will appear, allowing you to enter the details of the question you are creating.
Question Title
This is the title of the question that will be displayed to users. It is a required field with a limit of 250 characters. Ensure the question is clear and provides all the necessary information for users to respond accurately.

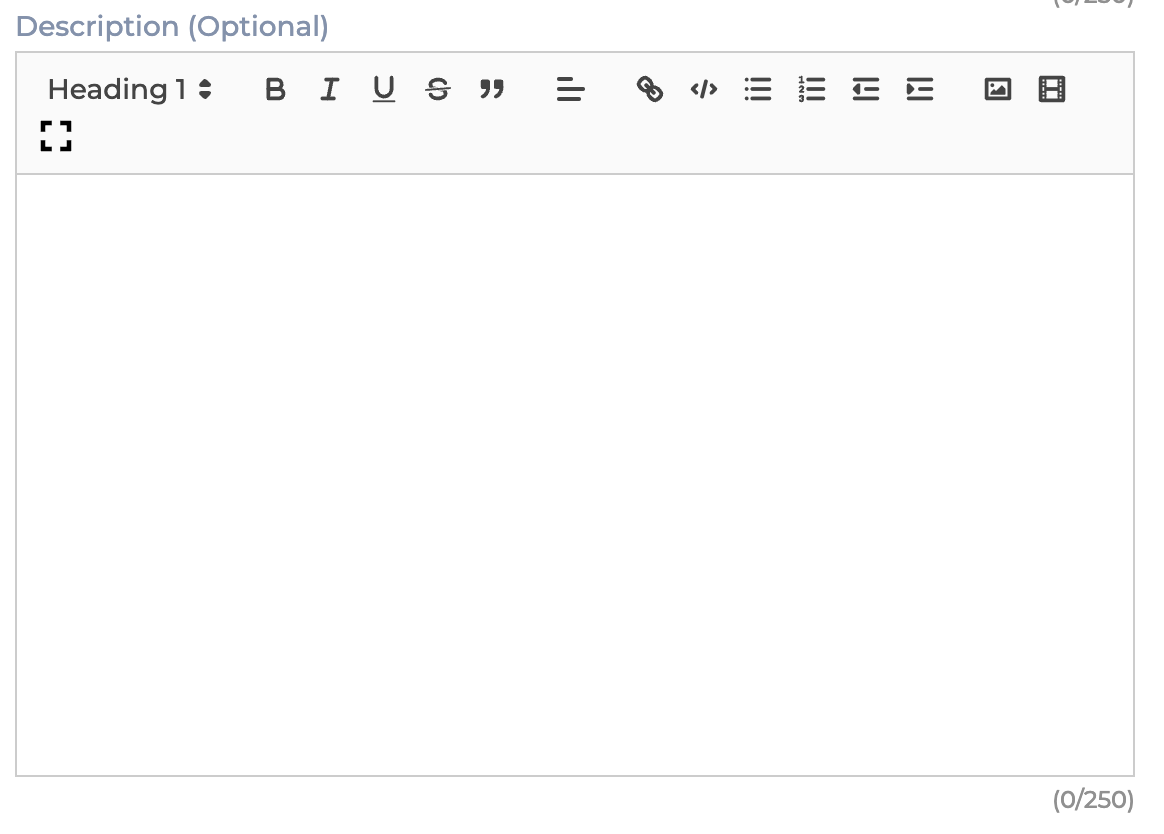
Question Description
This field provides additional information about the question, offering more context, details, or insights to help users better understand it. You can enhance the description using the following HTML tags: heading tags (H1 and H2), bold, italic, underline, strikethrough and links.
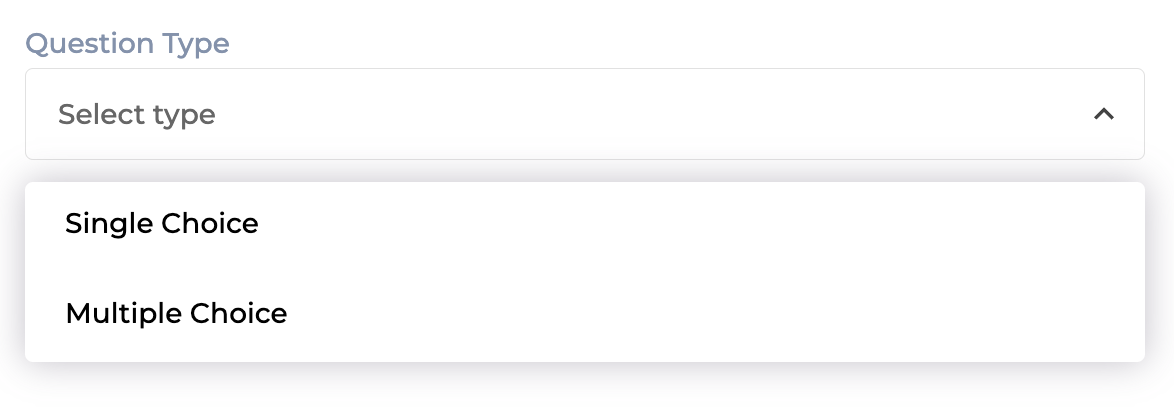
Question Type
Choose the type of question:
- Single Choice: Only one answer is correct.
- Multiple Choice: More than one answer can be correct.
Points for this Answer
Assign a point value to this question based on its weight or level of difficulty. The default is 1, but you can adjust it to any number to reflect the importance or complexity of the question.

Add Answer
Click the Add Answer button to include a new answer. This will display two additional fields:
- Answer: A text field where you can input the answer.
- Image: An optional field where you can upload an image to complement the answer and provide additional context.
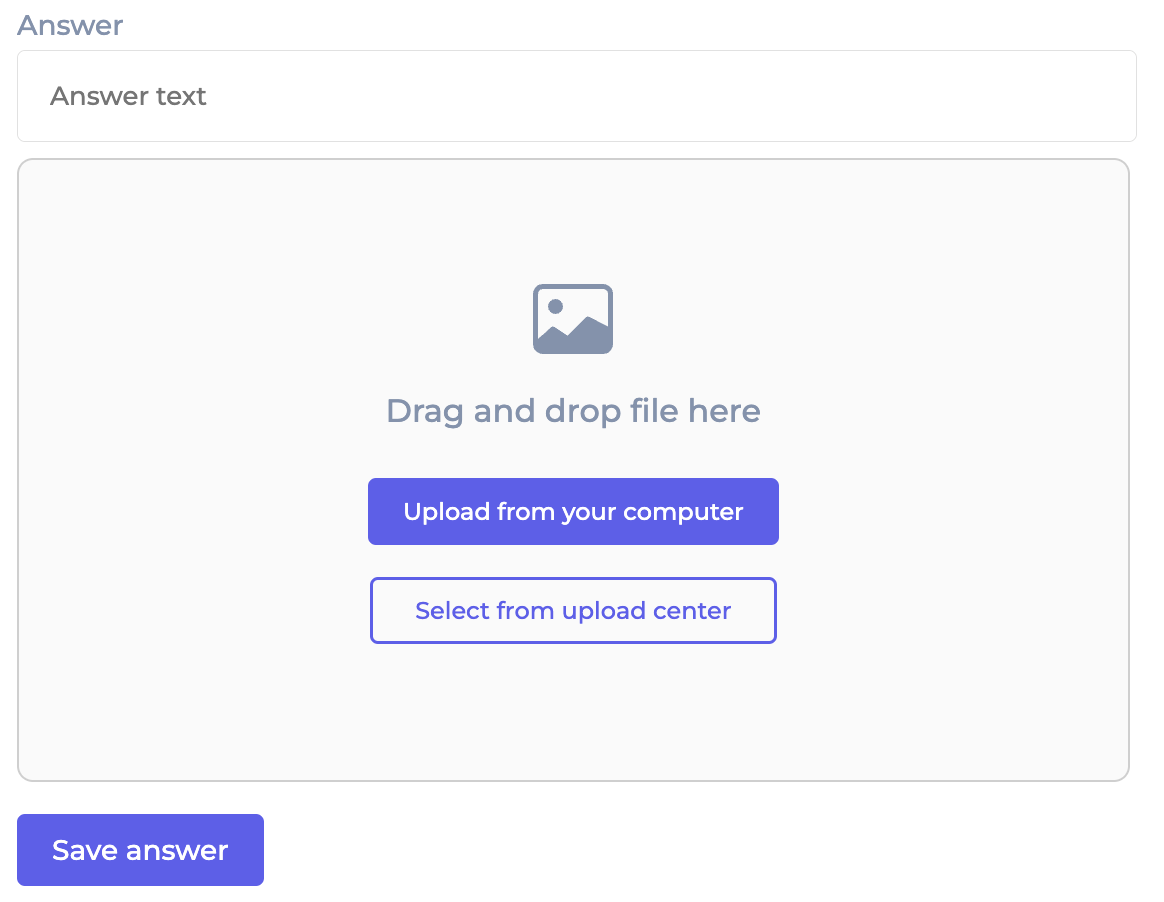
After entering the details, click Save Answer to save the answer. To add a new answer, click the Add Answer button. You can add as many answers as needed to provide a comprehensive set of options for the question.
Once the answers are added, you can select one or more correct answers, depending on the question type selected earlier (single choice or multiple choice). This allows you to define which answers are correct for the question.
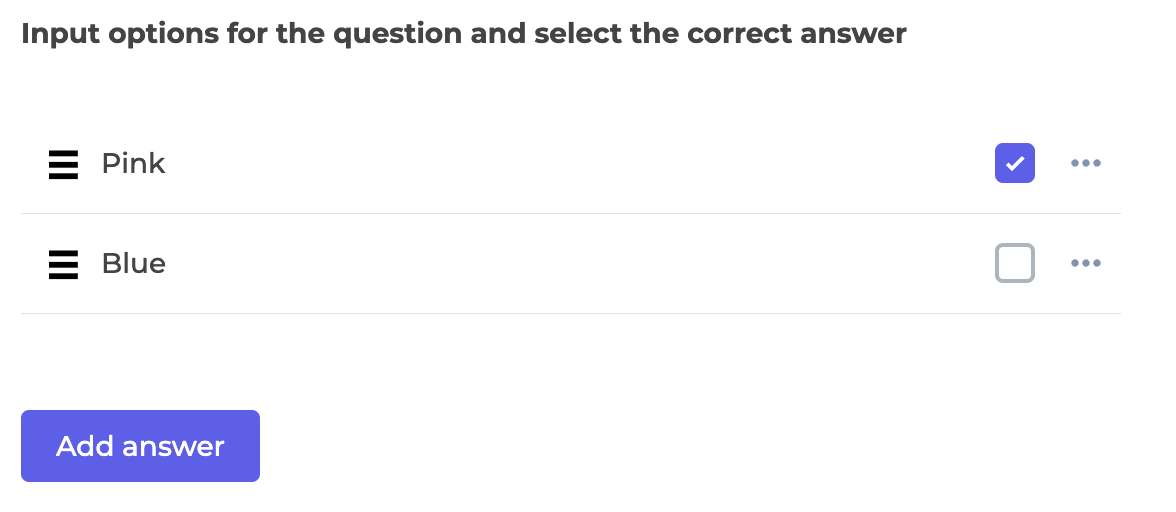
You can drag the answers to reorder them as needed. Alternatively, click the three-dot icon next to an answer for additional options, such as editing or deleting the answer.
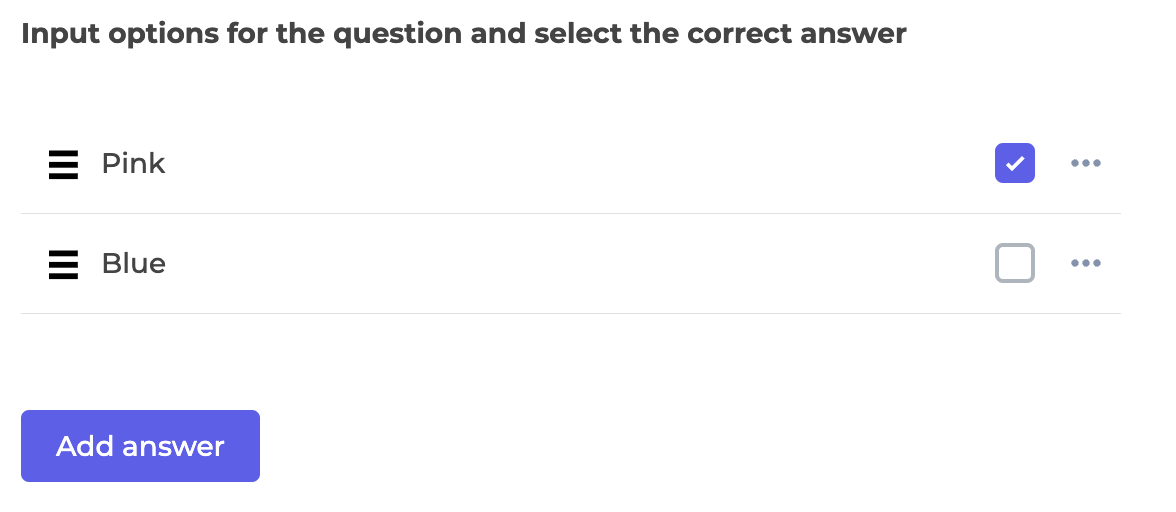
Click on Save to save the question once you have added all the necessary details and answers.

To edit or delete a question, click the three-dot icon next to the question. This will provide options to modify or remove the question.
Quiz Settings
In this tab, you can customize various quiz settings, including:
- Time Limit: Set a time limit for completing the quiz.
- Time Display: Choose whether to display the remaining time during the quiz.
- Answers Display: Customize if answers are shown to users at the end of the quiz.
- Passing Requirements: If passing is required, set the minimum score that the user must achieve to pass the quiz.
Level of Permission (Roles)
Available to Tenant, Super Admin and Admin users.
Updated 8 months ago
