Live Events
This is the section where Admin users can create Live Events that will be accessible in the app for End Users.
Live Events can be searched based on the title and description and are grouped in three tabs:
- Live: displays all the events that are either Live (live status) or ready to go live (ready status).
- Scheduled: displays all the events that are scheduled (not yet ready to go live).
- Finished: displays all the events that were finished and are ready to be posted.
The Live Events table has the following information:
- Thumbnail
- Status
- Title
- Description
- Scheduled
Apart from the thumbnail and status columns, all other columns can be sorted (ascending/descending).
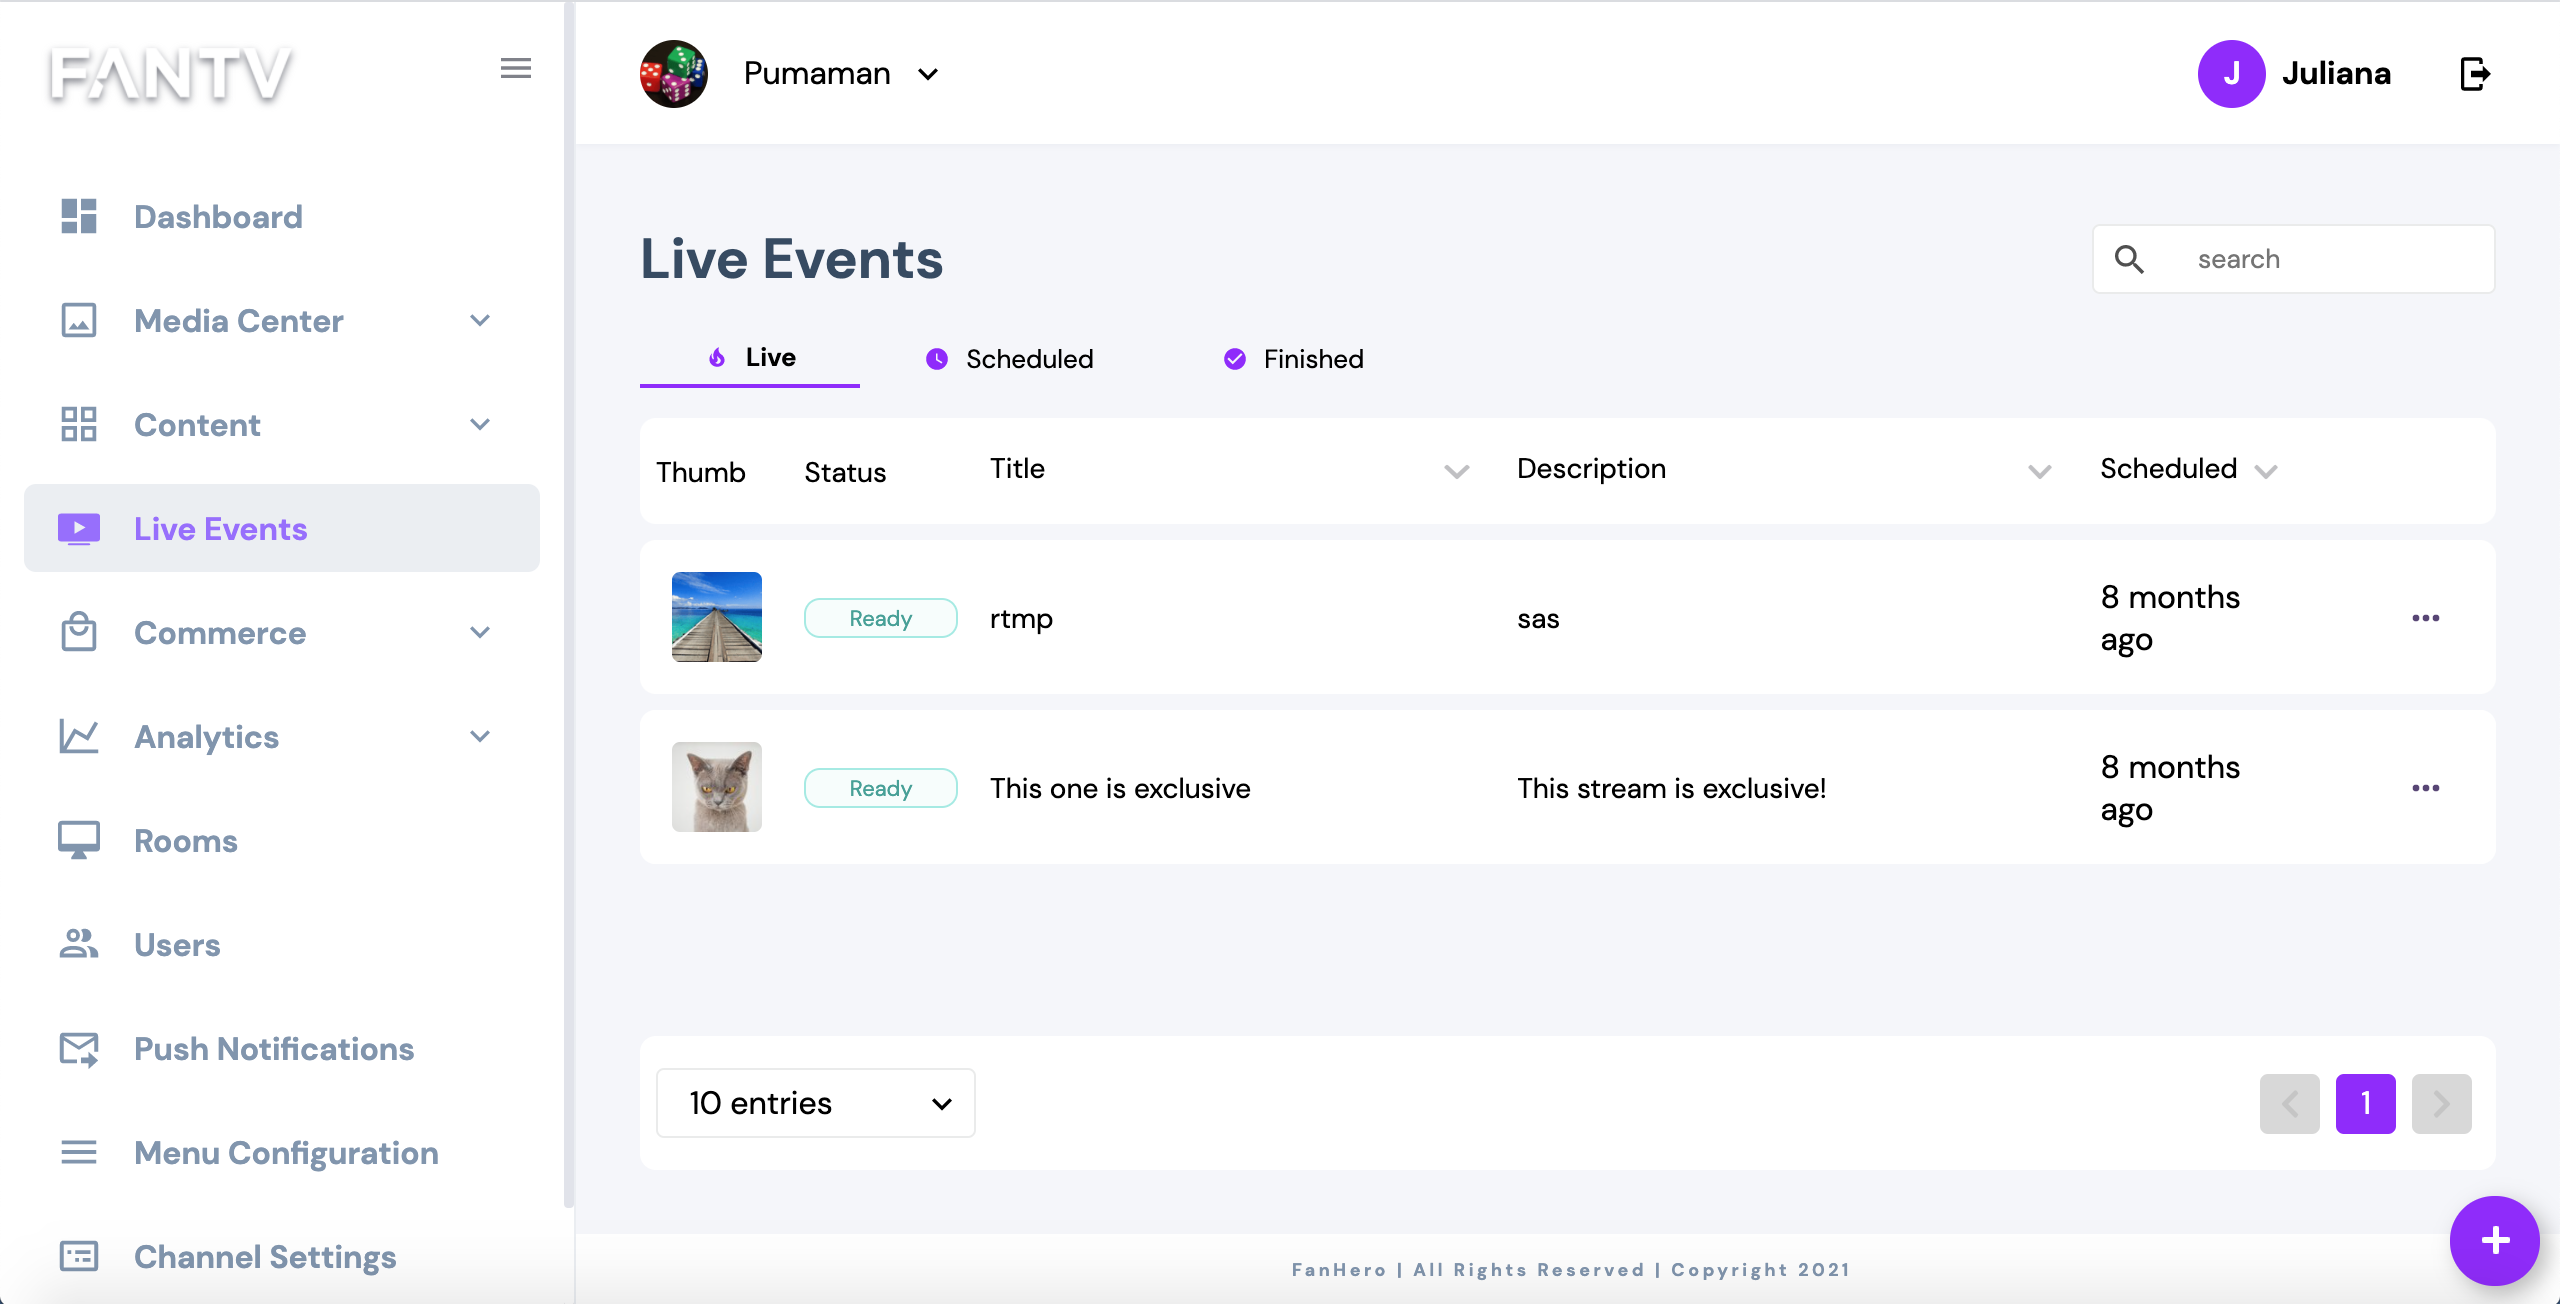
To create a new live event, click on the floating icon (+) at the bottom.
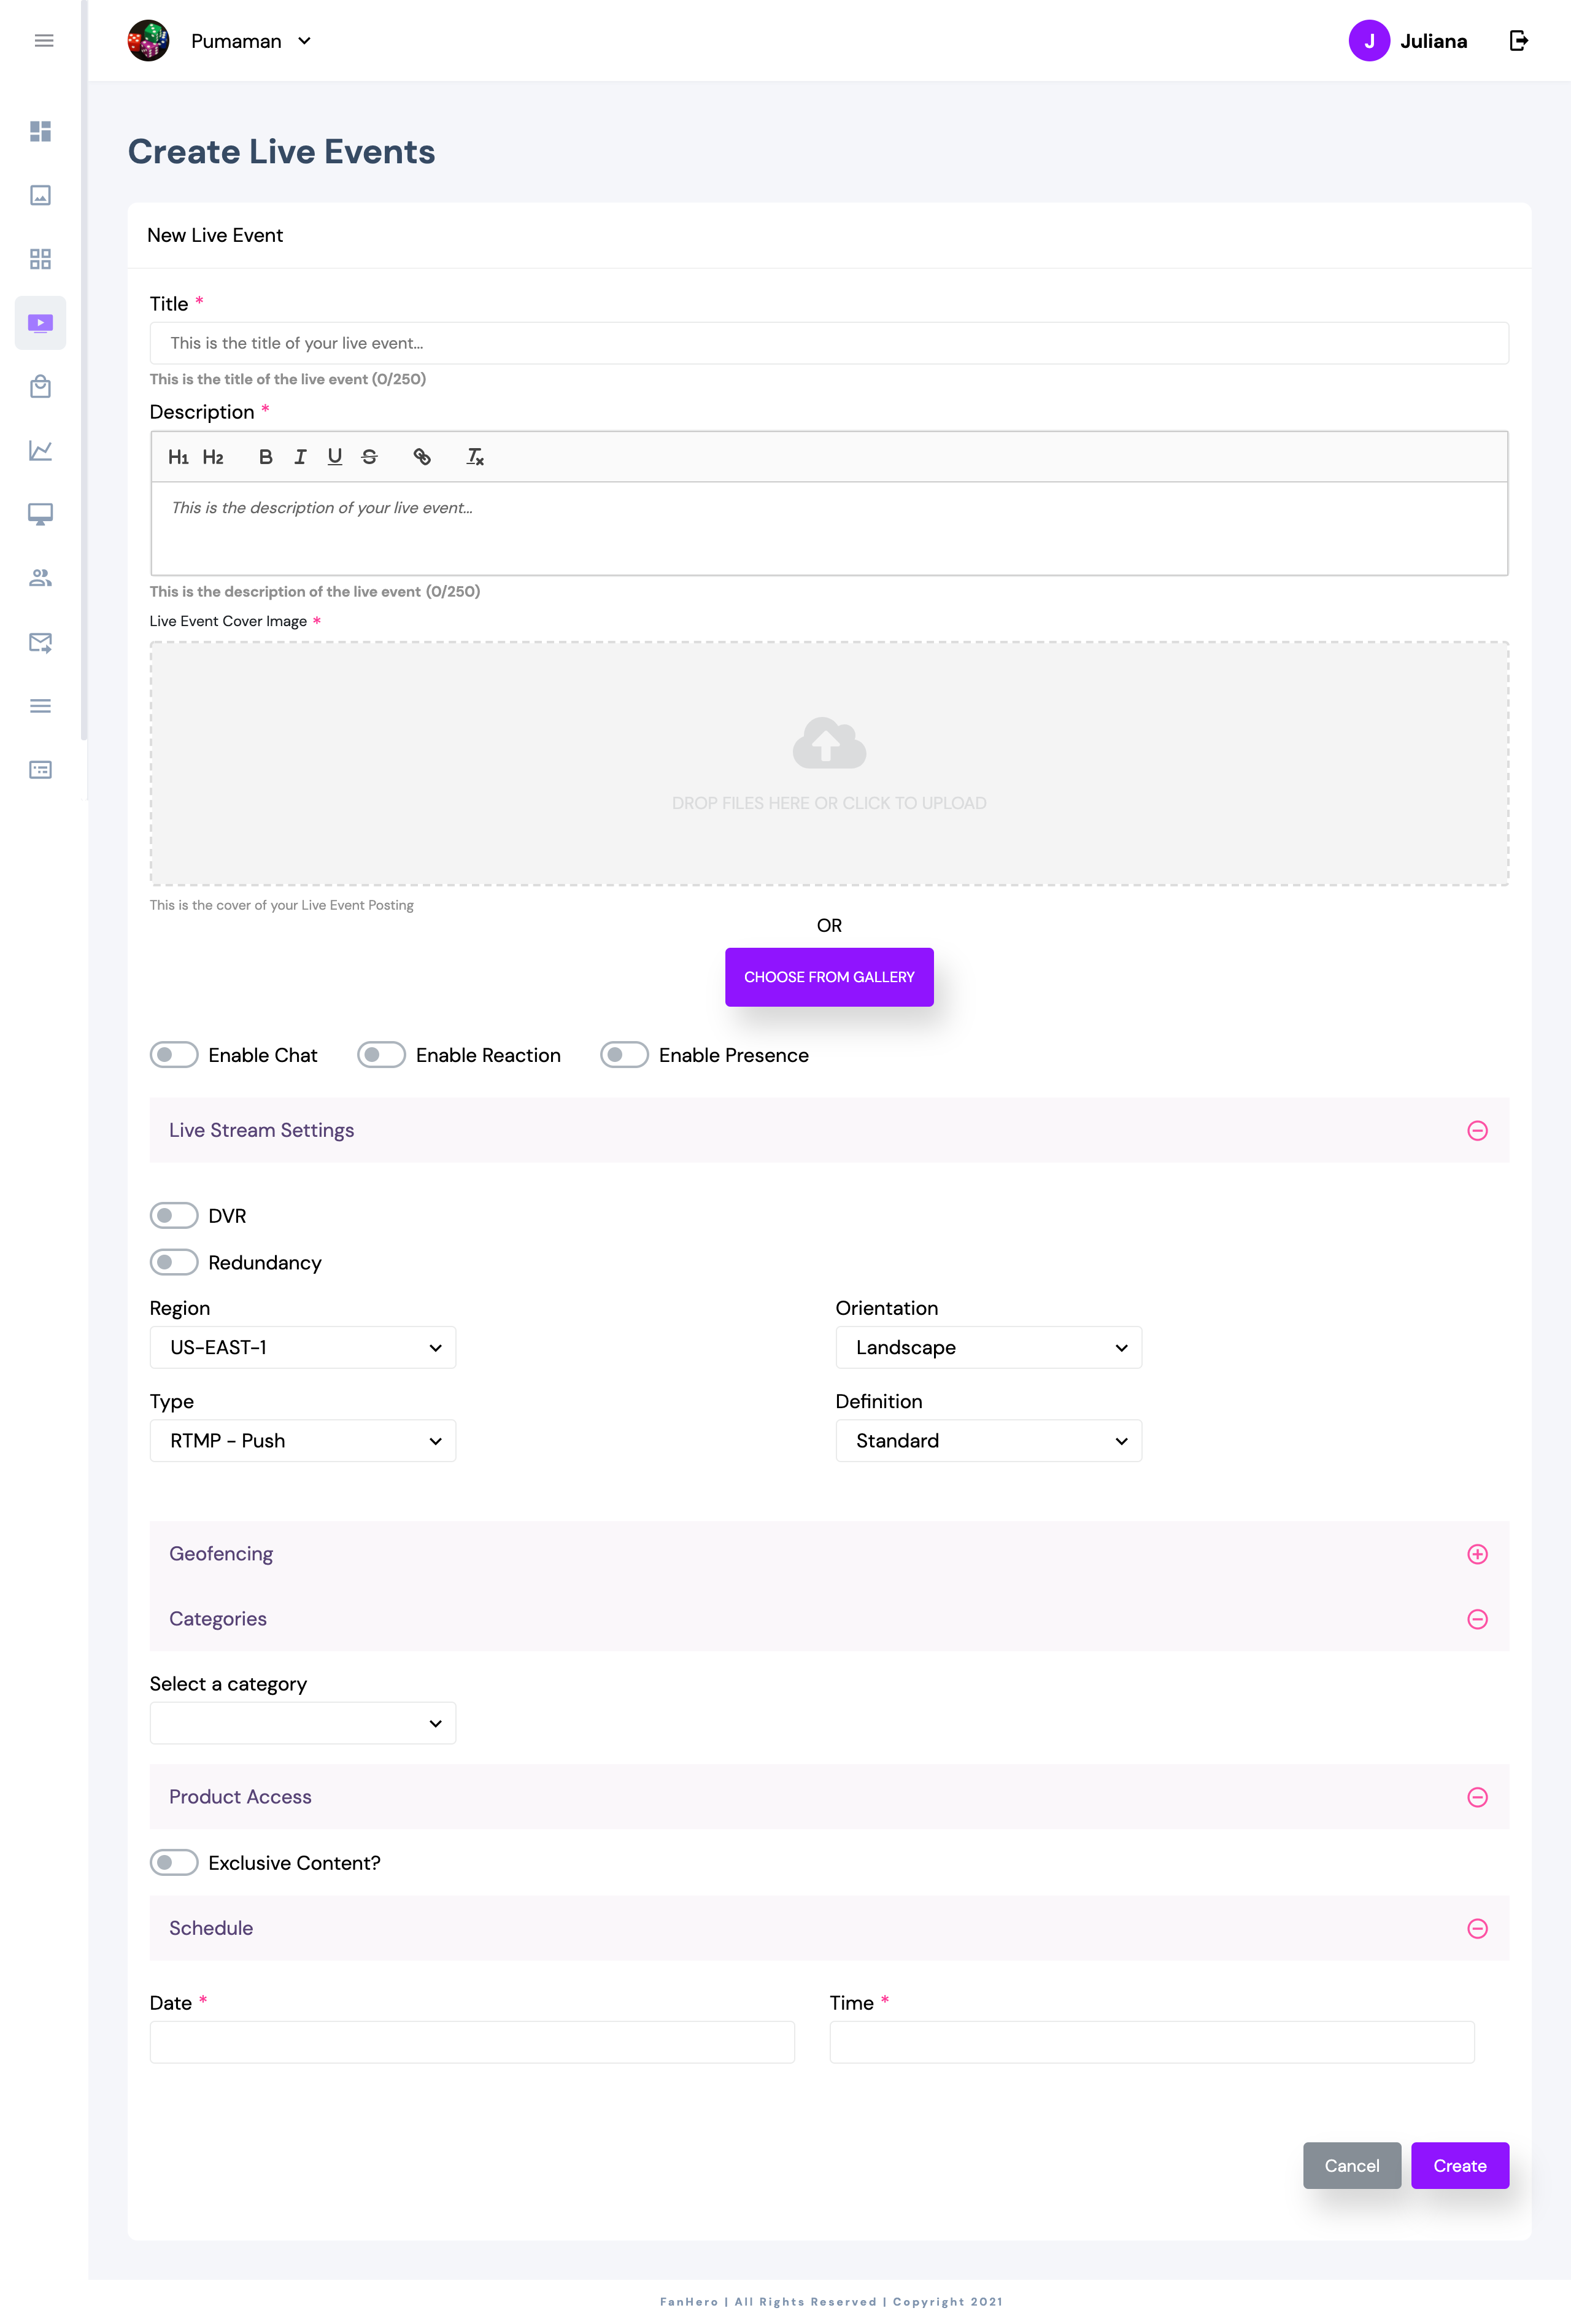
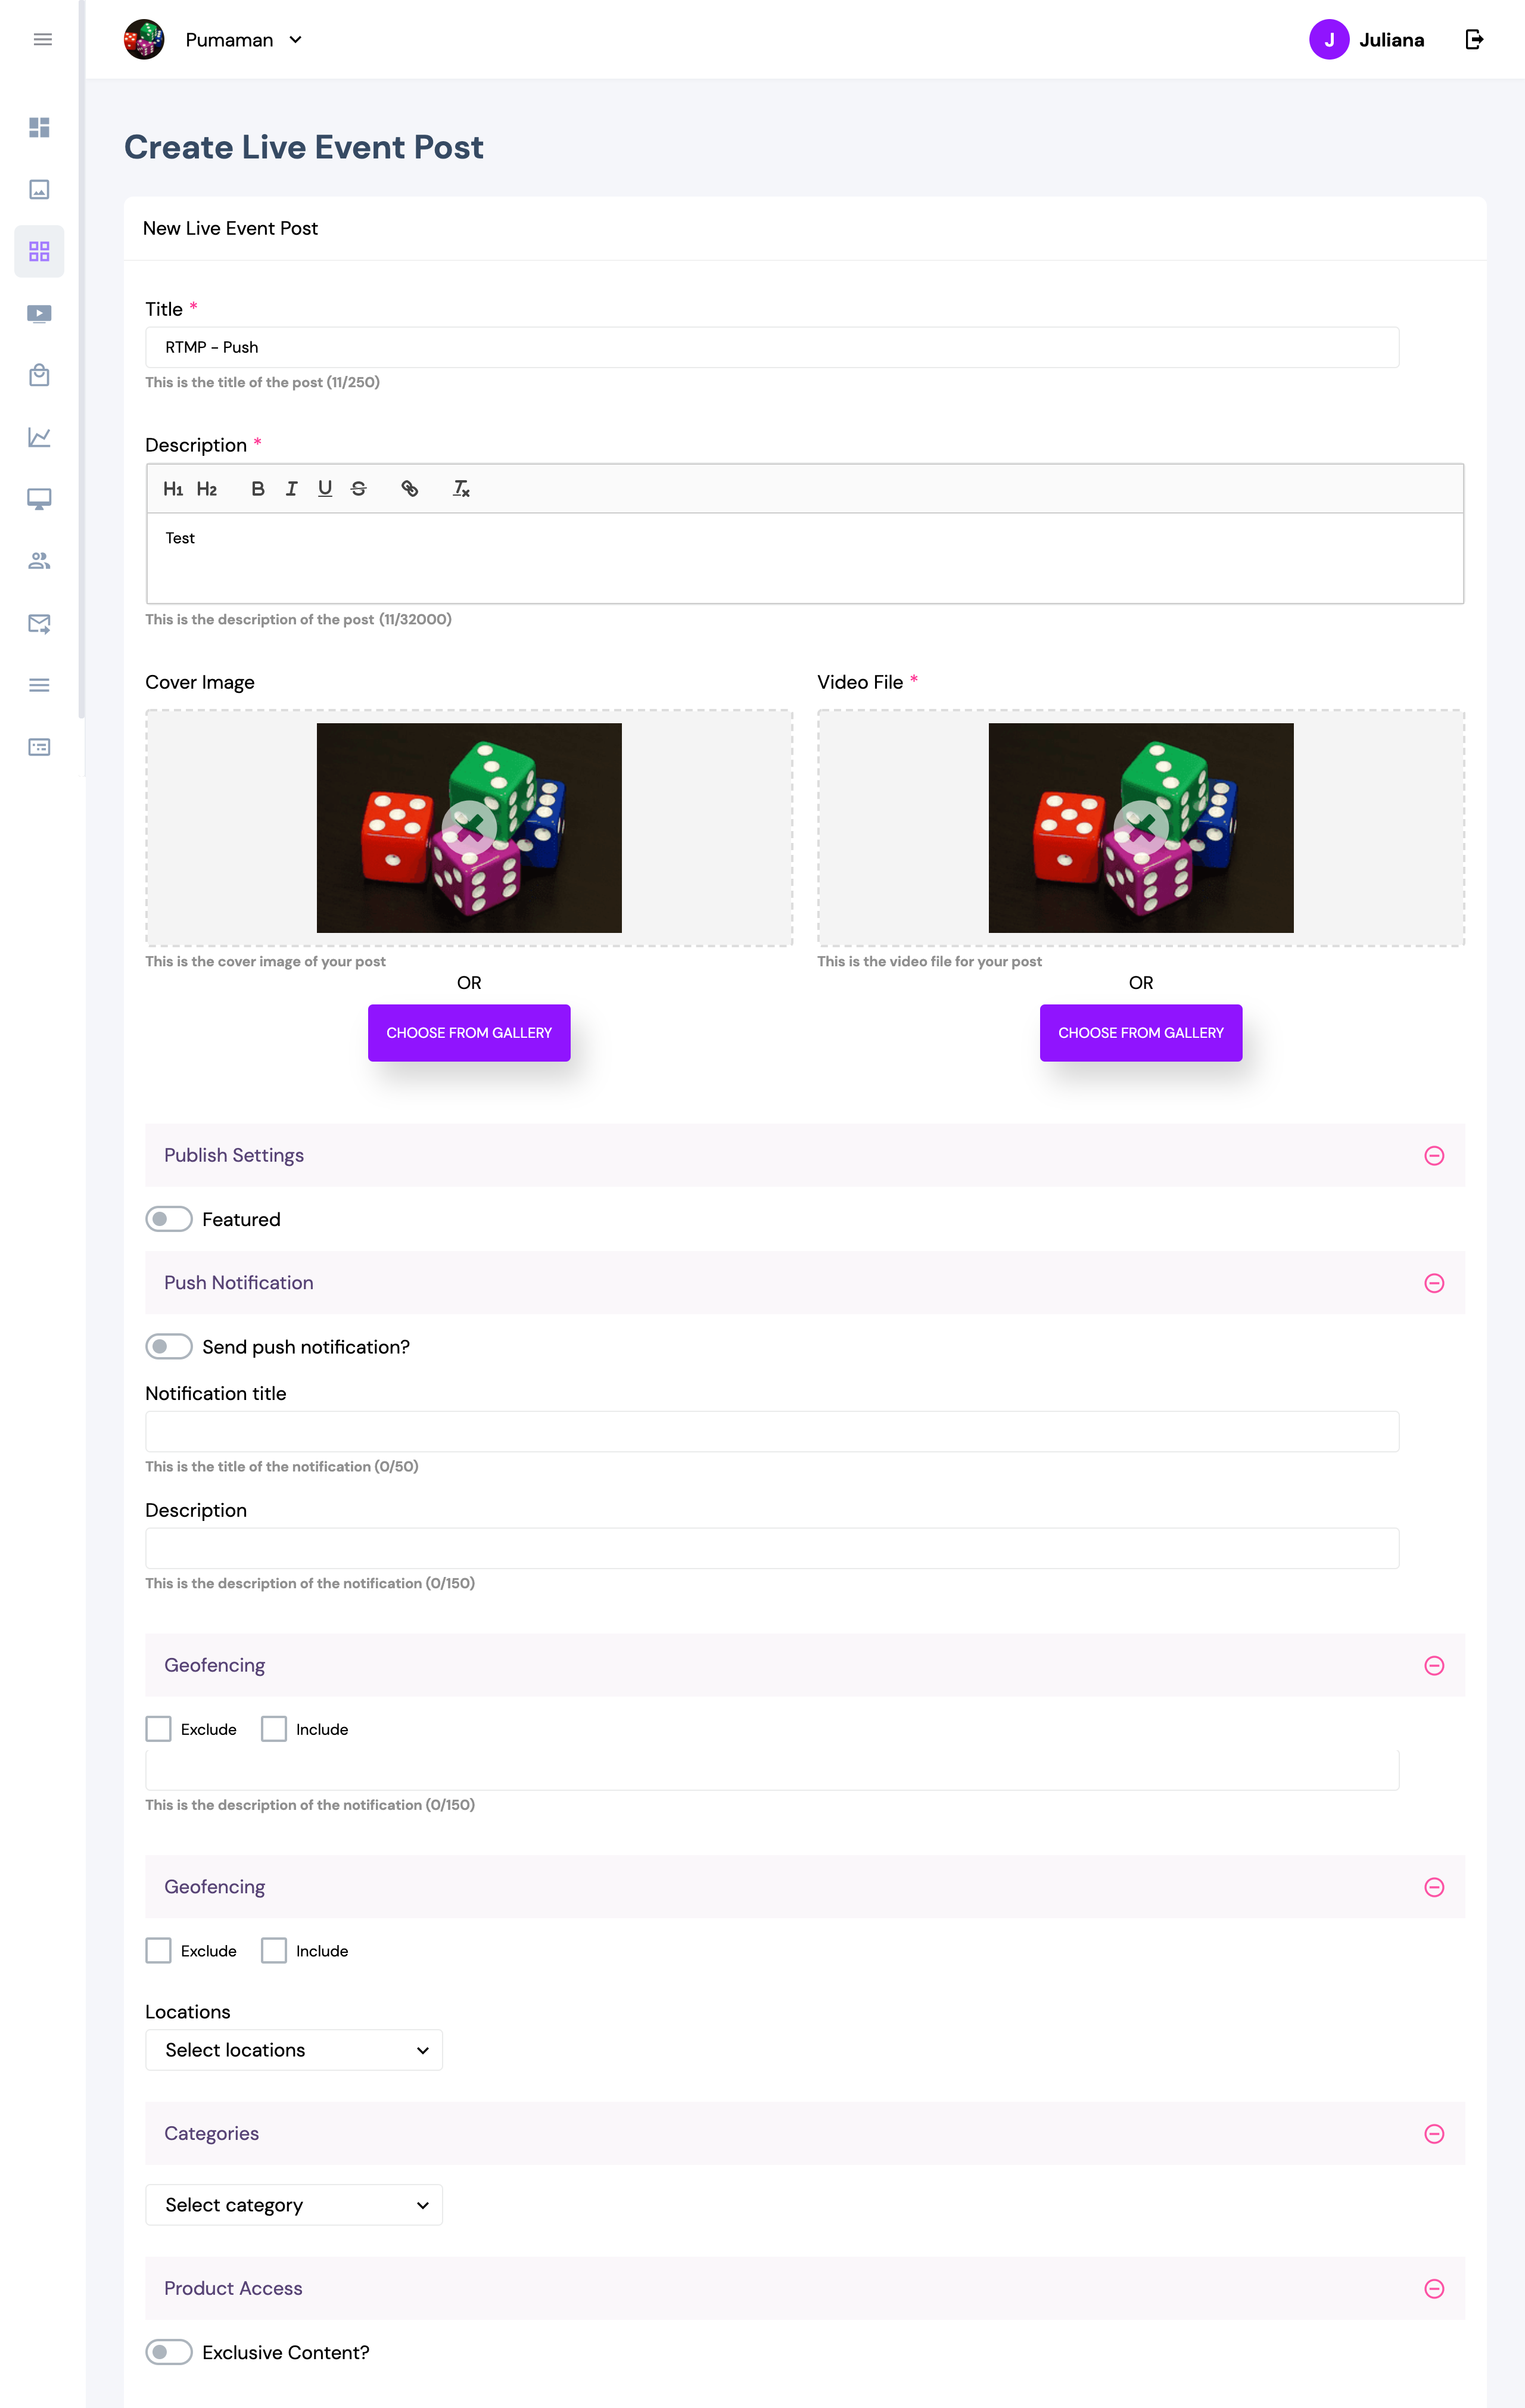
Item | Description |
|---|---|
Title | Title of live event. |
Description | Description of live event. |
Live Event Cover Image | Live Event thumbnail. |
Enable Chat | Ability to enable or disable chat for the live event. |
Enable Reaction | Ability to enable or disable reactions for the live event. |
Enable Presence | Ability to enable or disable presence for the live event. |
DVR | Ability to enable or disable the Digital Video Recorder. |
Redundancy | Ability to add a backup stream. |
Region | Two options are available:
|
Orientation | The live event can be either Landscape or Portrait. |
Type | See types detailed below. |
Definition |
|
Geofencing | Ability to make your live event available or not available in some countries. |
Categories | Ability to add a live stream to a category.
|
Product Access | Ability to define if the live stream will be public or exclusive and to assign products to it. |
Schedule | Date and time. If DVR is enabled, then at least 2 hours from now is required to create a live stream. Otherwise, the minimum is 5 minutes. |
Stream Type
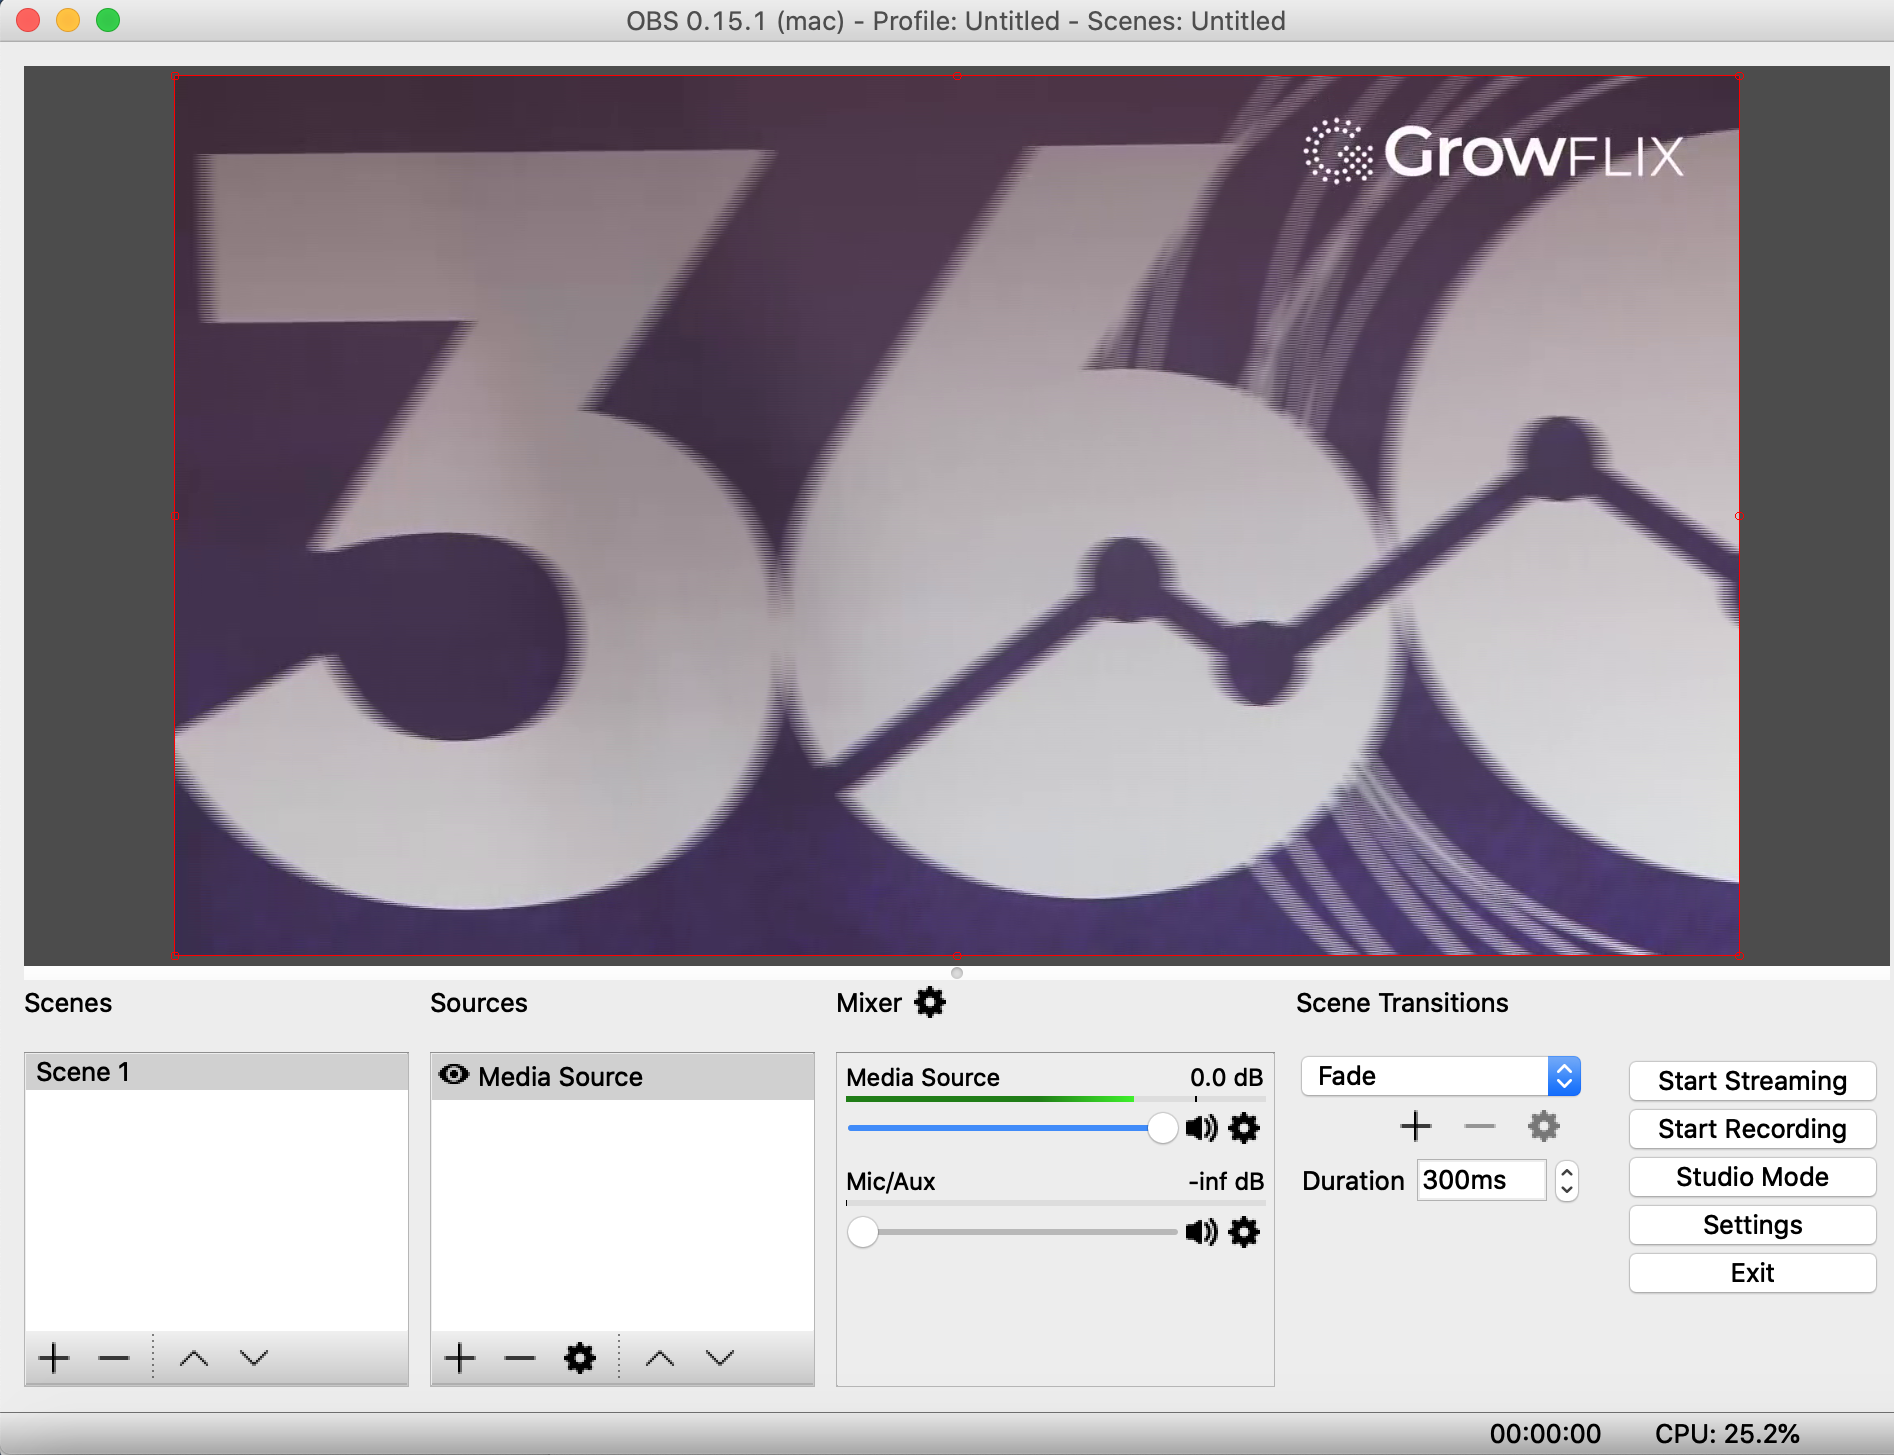
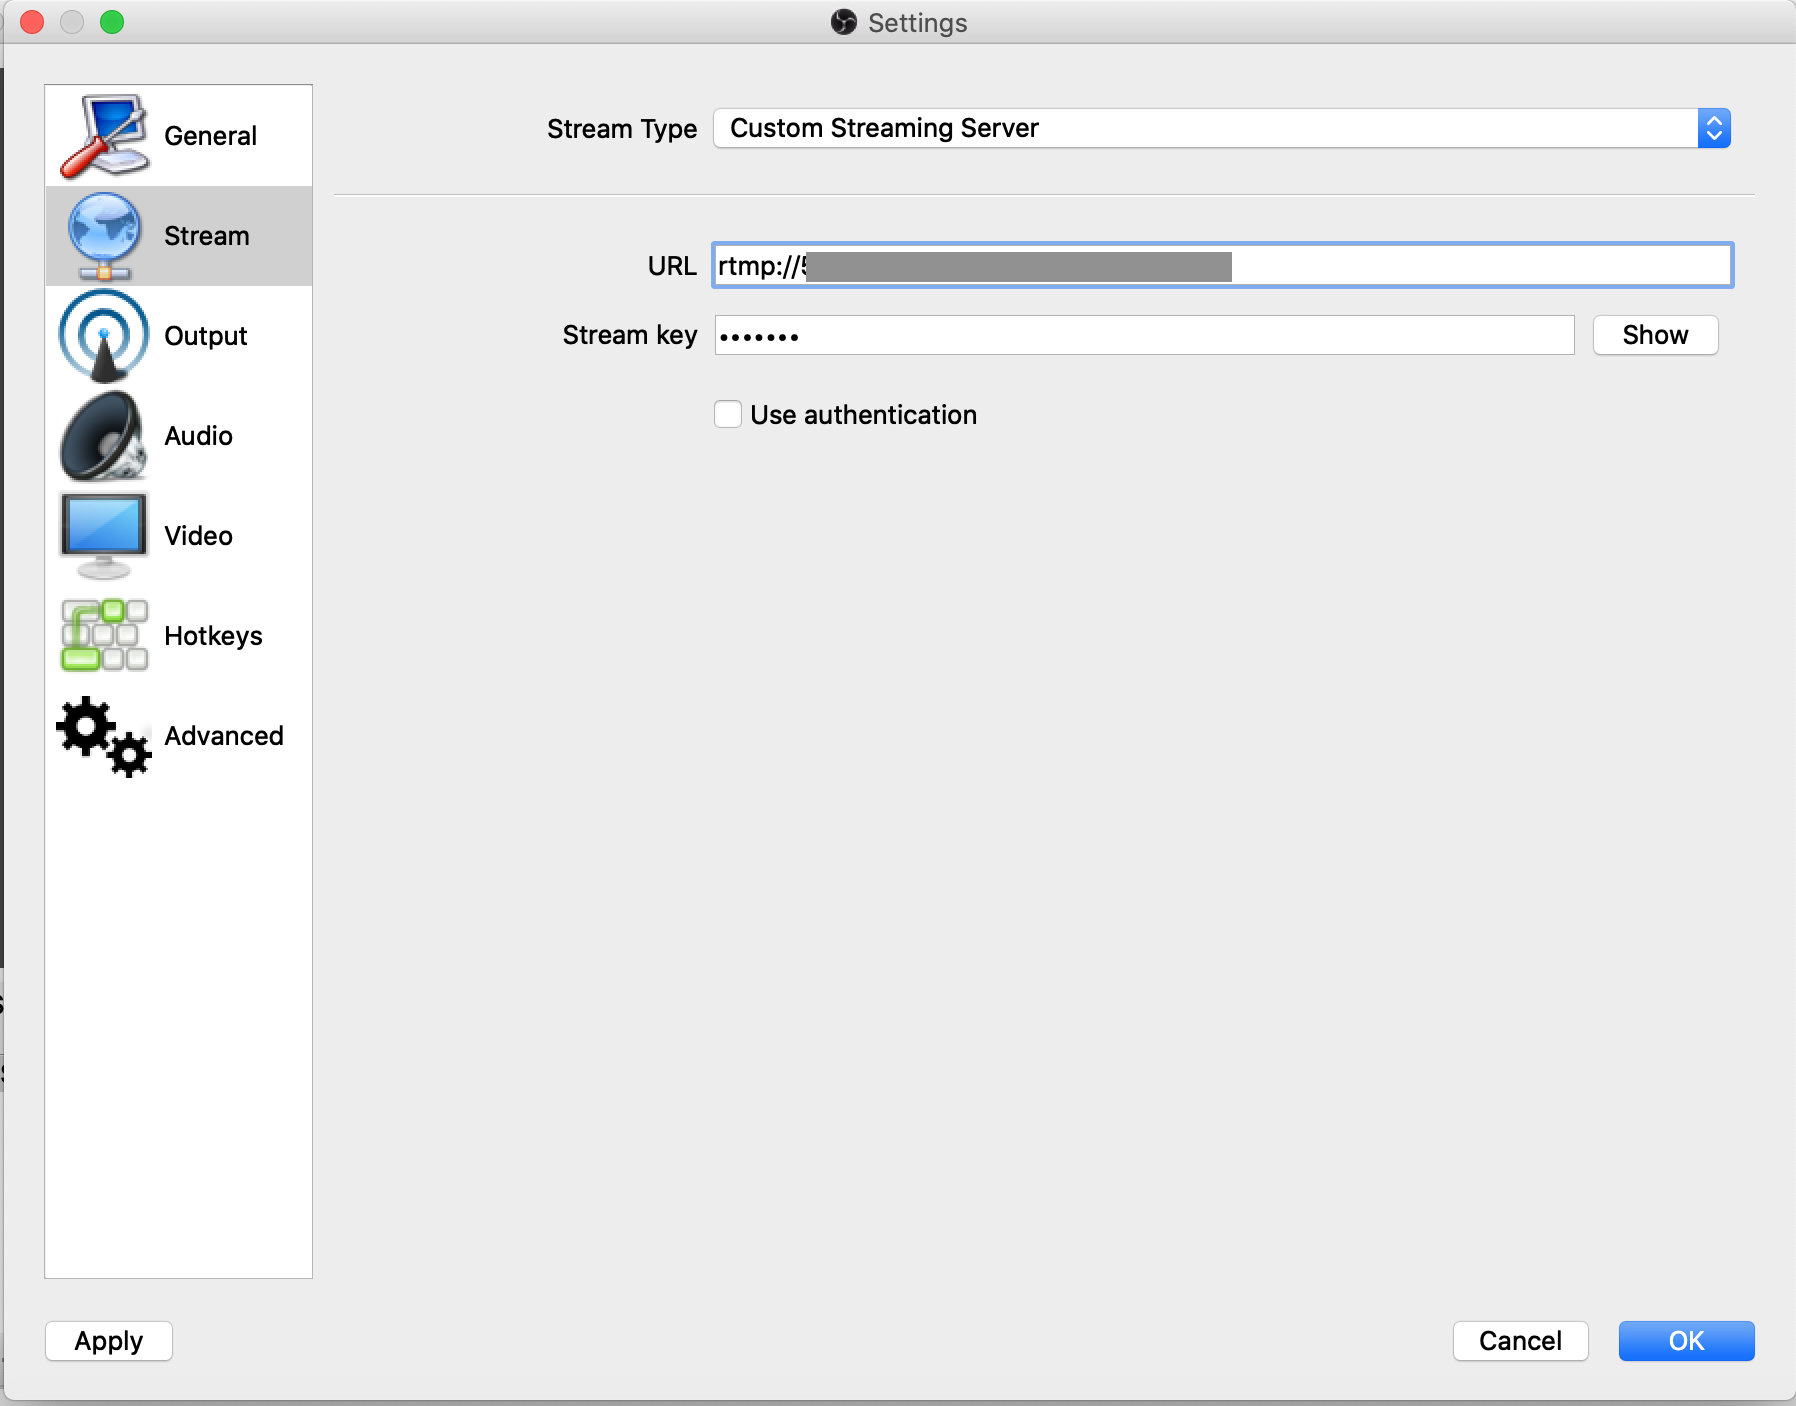
RTMP : The source attempts to deliver to an endpoint that is specified on Portal. There must be a handshake between the source and the FanHero Live Server so that the source has information about the status of the input.
- You need to set up the source content on the upstream system (for example, OBS).
- Complete all the required fields and create the stream. Once the stream is created, you will have access to the primary URL and primary key.
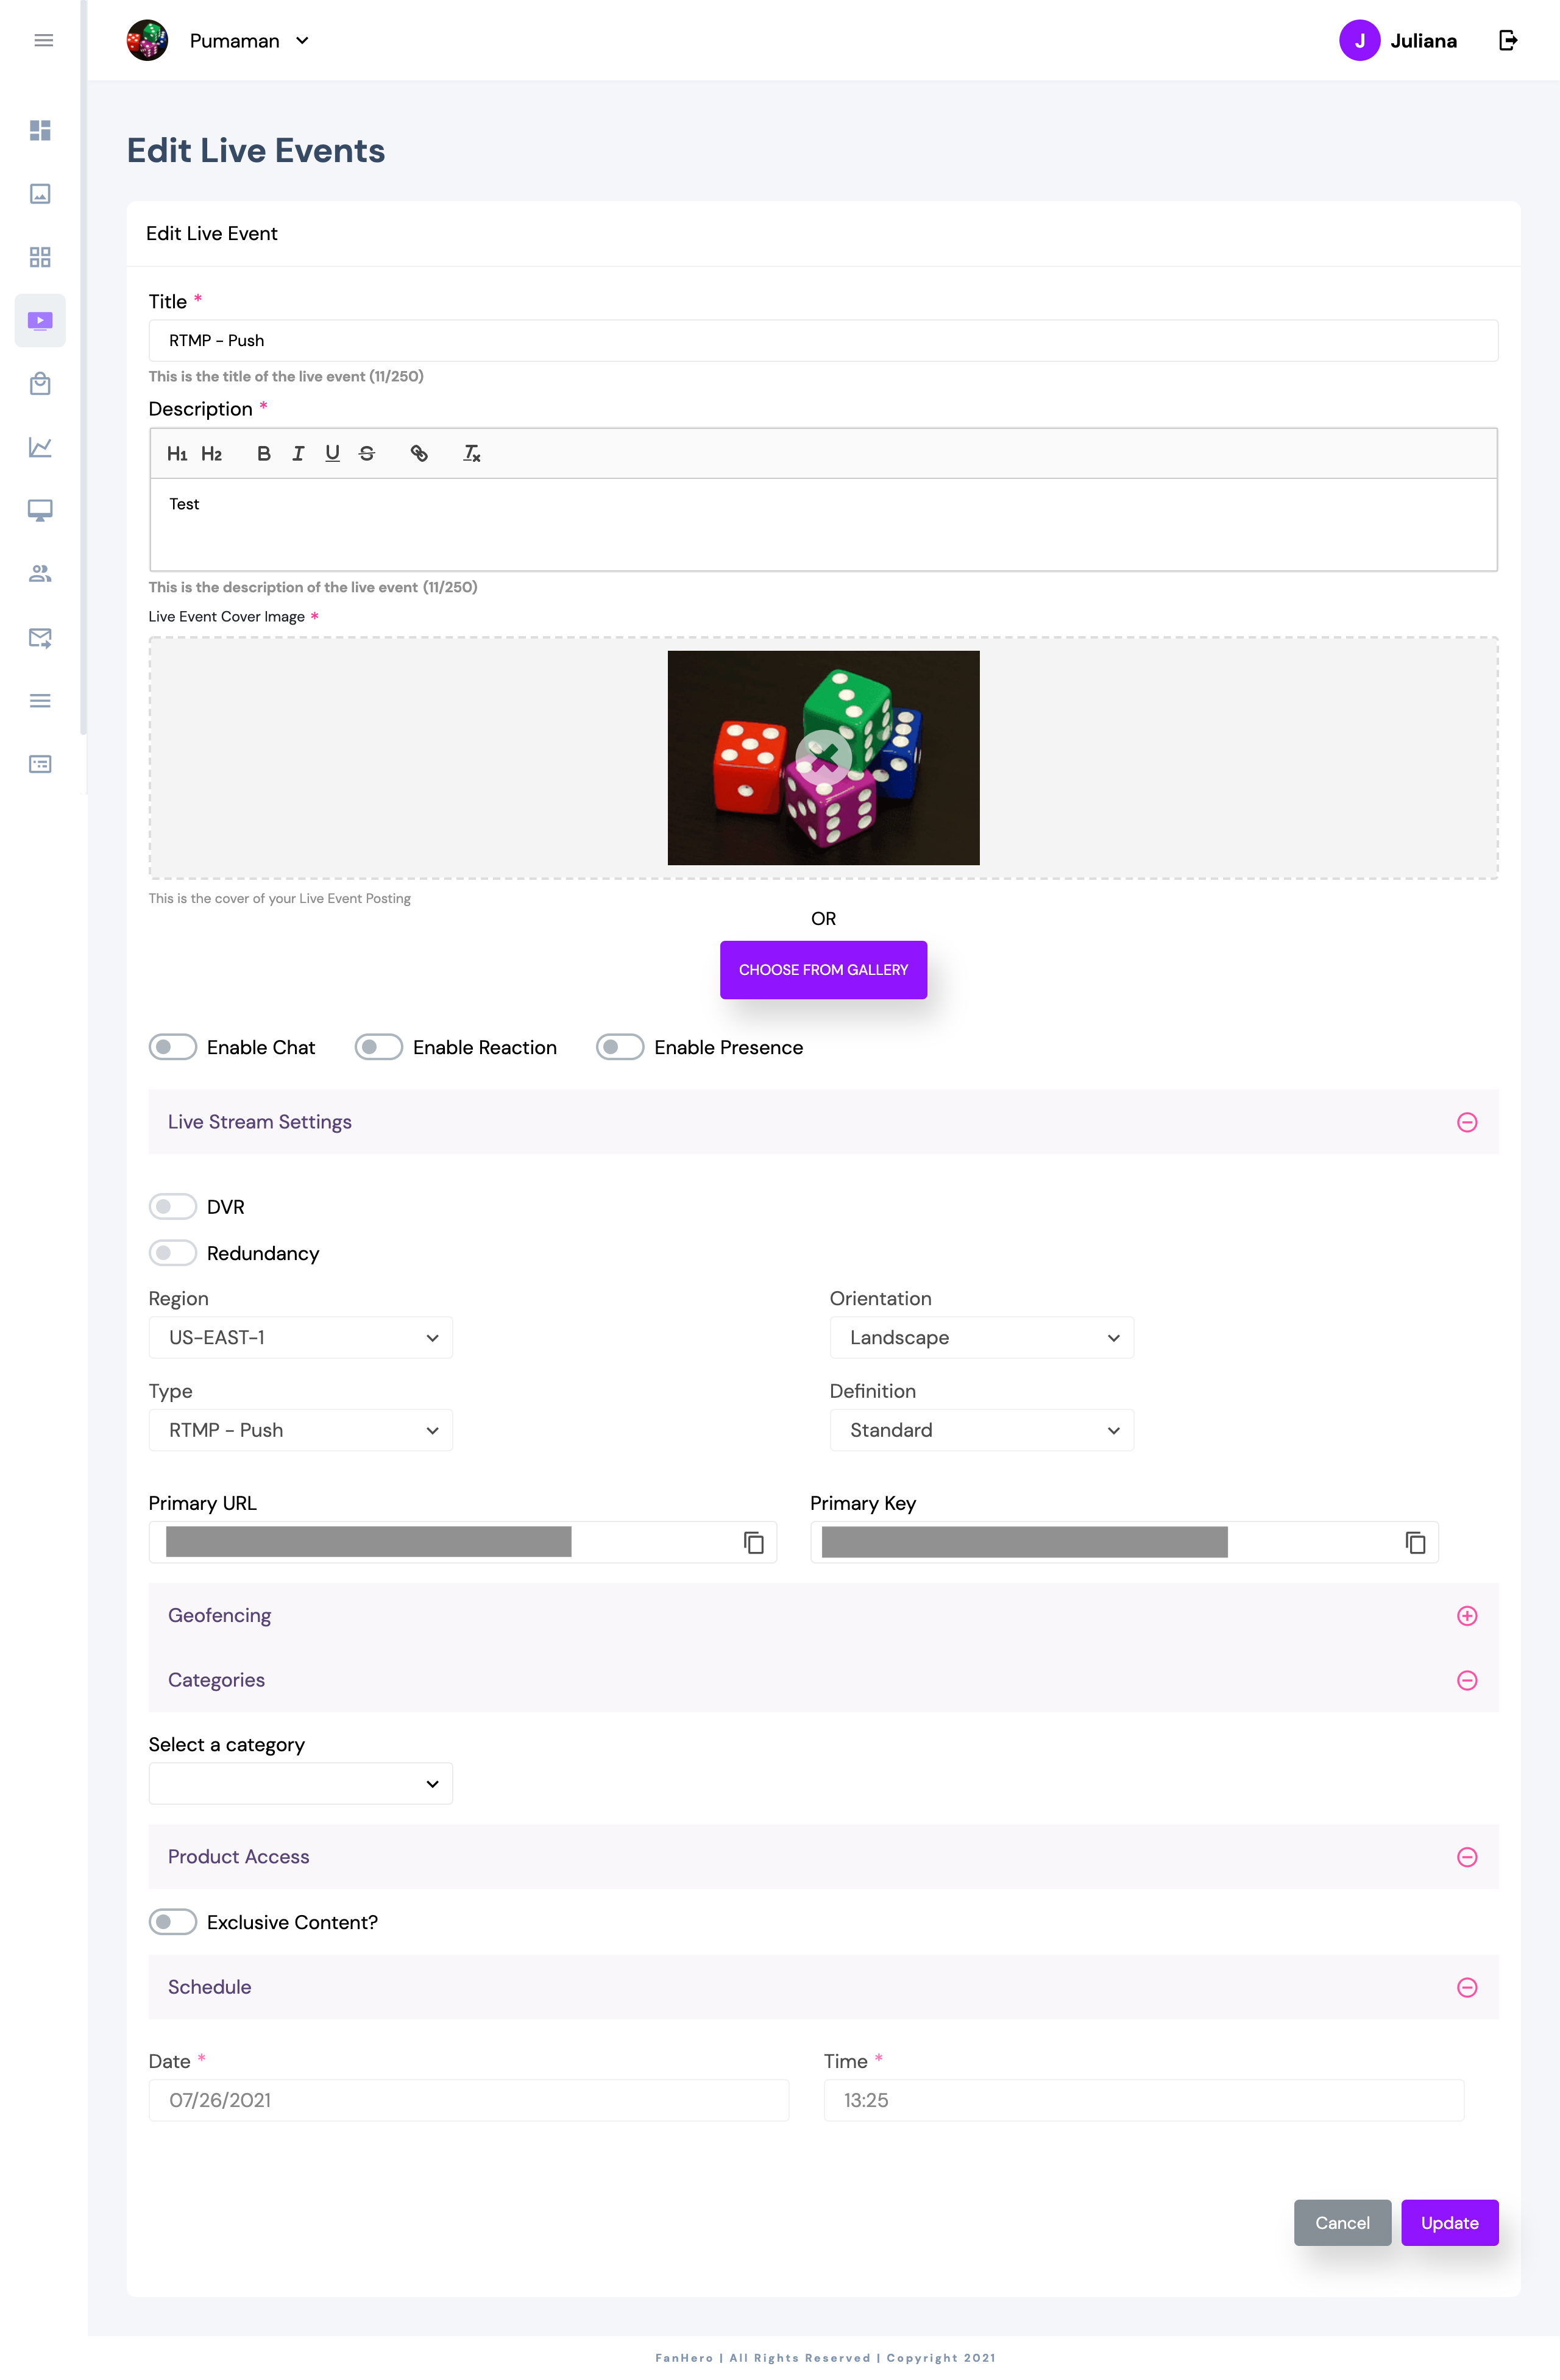
- In the upstream system, add the primary URL and key.
- Start streaming in the upstream system.
- In the Video portal, when the live stream is ready, it will be displayed under the "Live tab" with status ready. Click on the live stream you created and choose Details.

- Verify your video is playing as expected, then click Start Live Stream.
- A pop up is displayed asking you to confirm you want to go live.
- Live Stream is now live and available to all your end users.
- To end a Live Stream, click the Finish Live Stream button.
- A pop up is displayed asking you to confirm you want to end the stream.
- Once confirmed, a successful message is displayed at the top.
RTP - Push: The source attempts to deliver to an endpoint that is specified on Portal. The source is unaware of whether the content is being ingested by FanHero Live Server.
- You need to set up the source content on the upstream system.
- Complete all the required fields and create the stream. Once the stream is created, you will have access to the primary URL and primary key.
- In the upstream system, add the primary URL and key.
- Start streaming in the upstream system.
- In the Video portal, when the live stream is ready, it will be displayed under the "Live tab" with status ready. Click on the live stream you created and choose Details.
- Verify your video is playing as expected, then click Start Live Stream.
- A pop up is displayed asking you to confirm you want to go live.
- Live Stream is now live and available to all your end users.
- To end a Live Stream, click the Finish Live Stream button.
- A pop up is displayed asking you to confirm you want to end the stream.
- Once confirmed, a successful message is displayed at the top.
RTMP - Pull: Choose this type when you have a stream server that provides the URL.
- When you choose RTMP-Pull, a new field will be displayed - Stream URL.
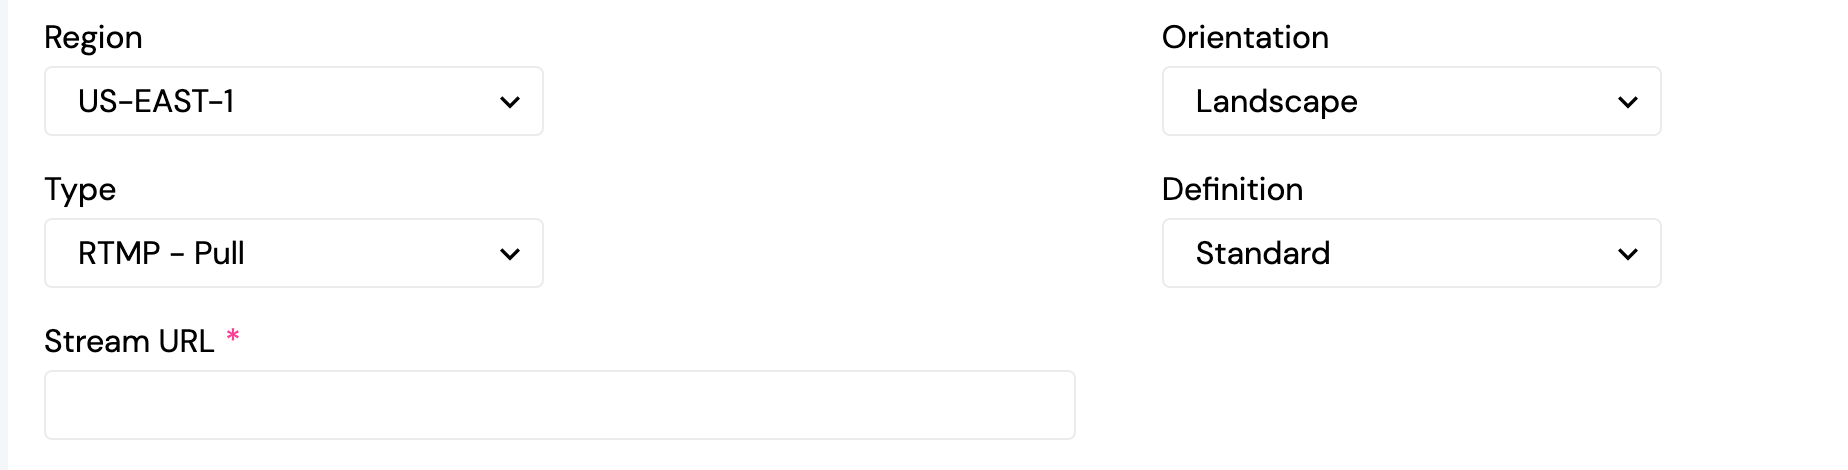
- Add your stream URL.
- Complete all the required fields and create the live stream.
- Once the live stream is ready, it will be displayed under the Ready tab with status "ready".
- Click on it and choose Details.
- Verify your video is playing as expected, then click Start Live Stream.
- A pop up is displayed asking you to confirm you want to go live.
- Live Stream is now live and available to all your end users.
- To end a Live Stream, click the Finish Live Stream button.
- A pop up is displayed asking you to confirm you want to end the stream.
- Once confirmed, a successful message is displayed at the top.
MP4 : Choose this type when you want to use an mp4 link.
- When you choose MP4-Pull, two new fields will be displayed - Stream URL and Keep in Loop.
- If Keep in Loop toggle is enabled, it means the source content will be played in loop until you end the stream.
- If Keep in Loop toggle is disabled, it means the source content will have a beginning and an end. In this case, you should choose an Intro URL (a video that will be played before the actual live stream).
The Intro URL is not a required field. If you don't add an intro URL, then one set as standard in our server will be played.
- Add your stream URL.
- Complete all the required fields and create the live stream.
- Once the live stream is ready, it will be displayed under the Ready tab with status "ready".
- Click on it and choose Details.
- Verify your video is playing as expected, then click Start Live Stream.
- A pop up is displayed asking you to confirm you want to go live.
- Live Stream is now live and available to all your end users.
- To end a Live Stream, click the Finish Live Stream button.
- A pop up is displayed asking you to confirm you want to end the stream.
- Once confirmed, a successful message is displayed at the top.
Live Stream Details
Scheduled
If a live stream has status "scheduled", then the following items can be edited until the stream status becomes "ready":
- Title
- Description
- Date and Time: can be edited if scheduled date/time is more than 4 hours from now. New date/time must be at least 2 hours from now.
- Thumbnail
- Chat
- Reaction
- Presence
- Geofencing
- Category
- Product Access
Ready
If a live stream has status "ready", then the following items can be edited until the stream status becomes "live":
- Title
- Description
- Date and Time: can be edited if scheduled date/time is more than 4 hours from now. New date/time must be at least 2 hours from now.
- Thumbnail
- Chat
- Reaction
- Presence
- Geofencing
- Category
- Product Access
Live
Once a live stream is live, then the following items can be edited:
- Chat
- Reaction
- Presence
Finished Stream
When a stream is ended and has a status "done", Admin users have the ability to create a post using the past stream as media. Simply click the three dots menu and choose "+ Post".
This will open the Create Post screen and you can make any changes before publishing the past stream.
Admin users can also edit a past stream video. Click on a finished stream and choose "Review".

This will take you to the Live Event Review screen where you can edit the video by clicking on play and choosing a start and end time.
After you choose your new start and end time, click on Save and the edited video will be saved.
Finished streams can also be downloaded - simply click on the finished stream and choose download. This will open a new tab where you can choose download from the video player.
Admin users also have the ability to delete a past stream if they want to do so.
Updated 10 months ago